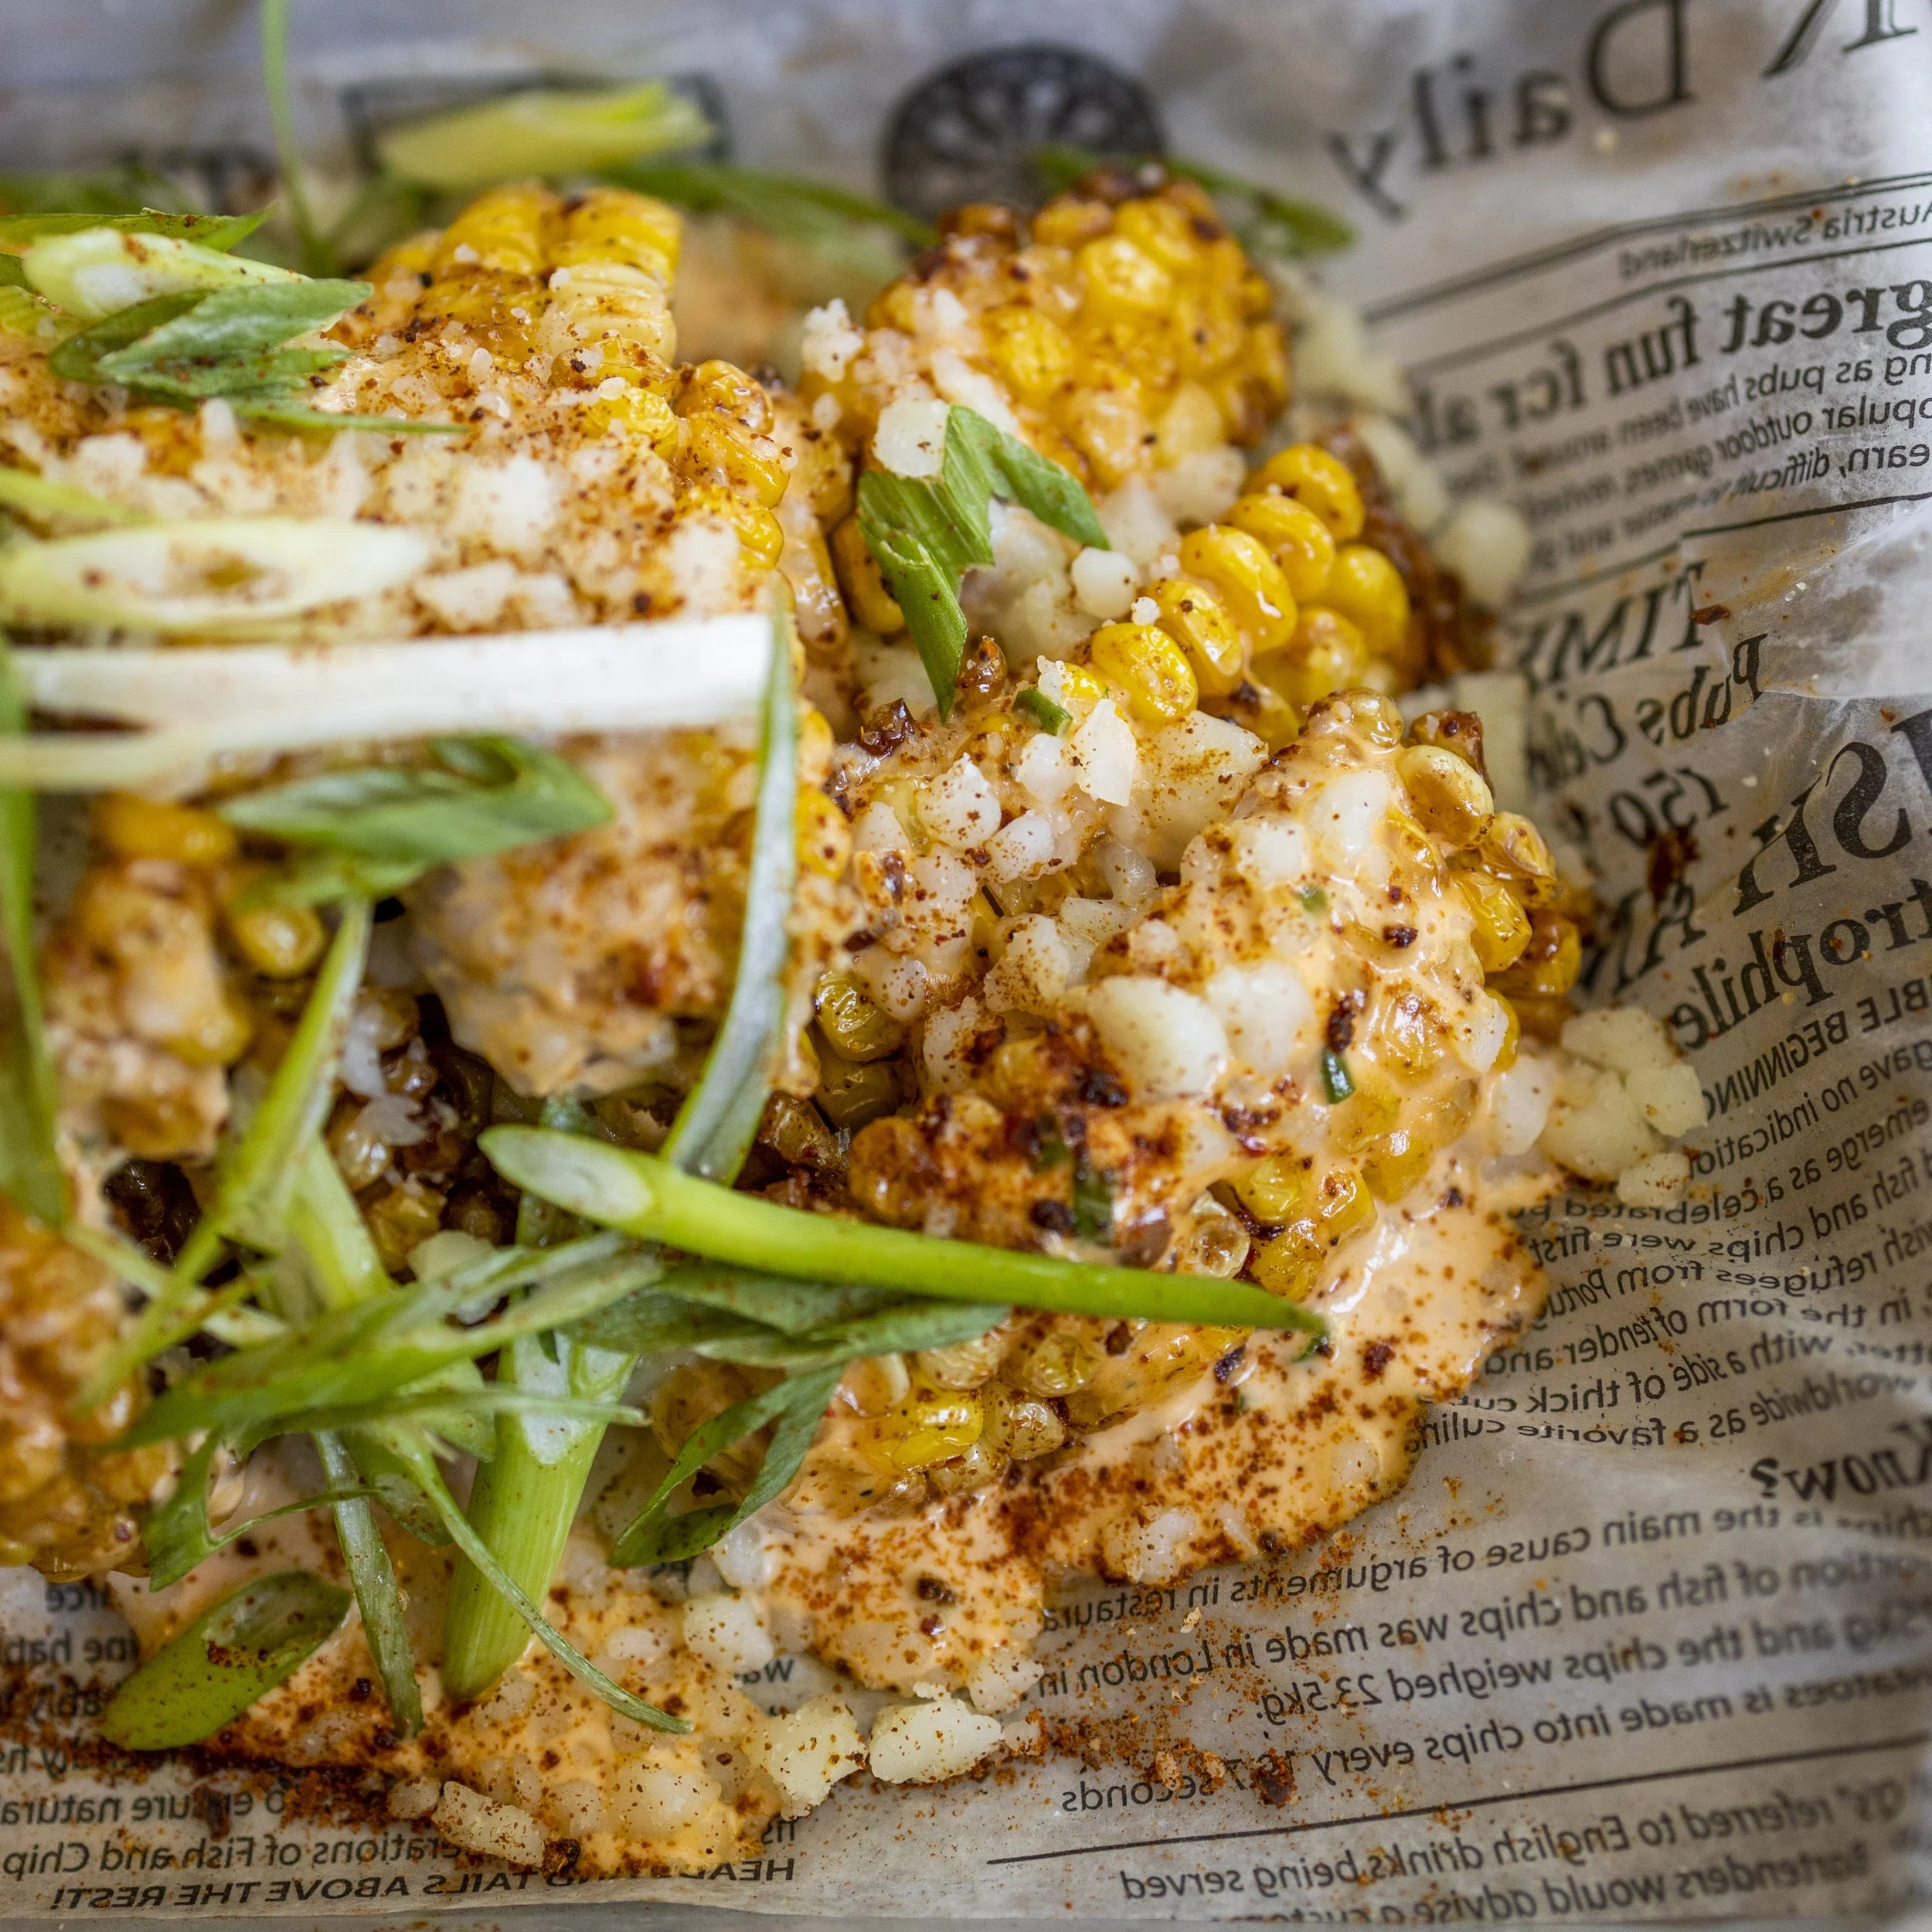
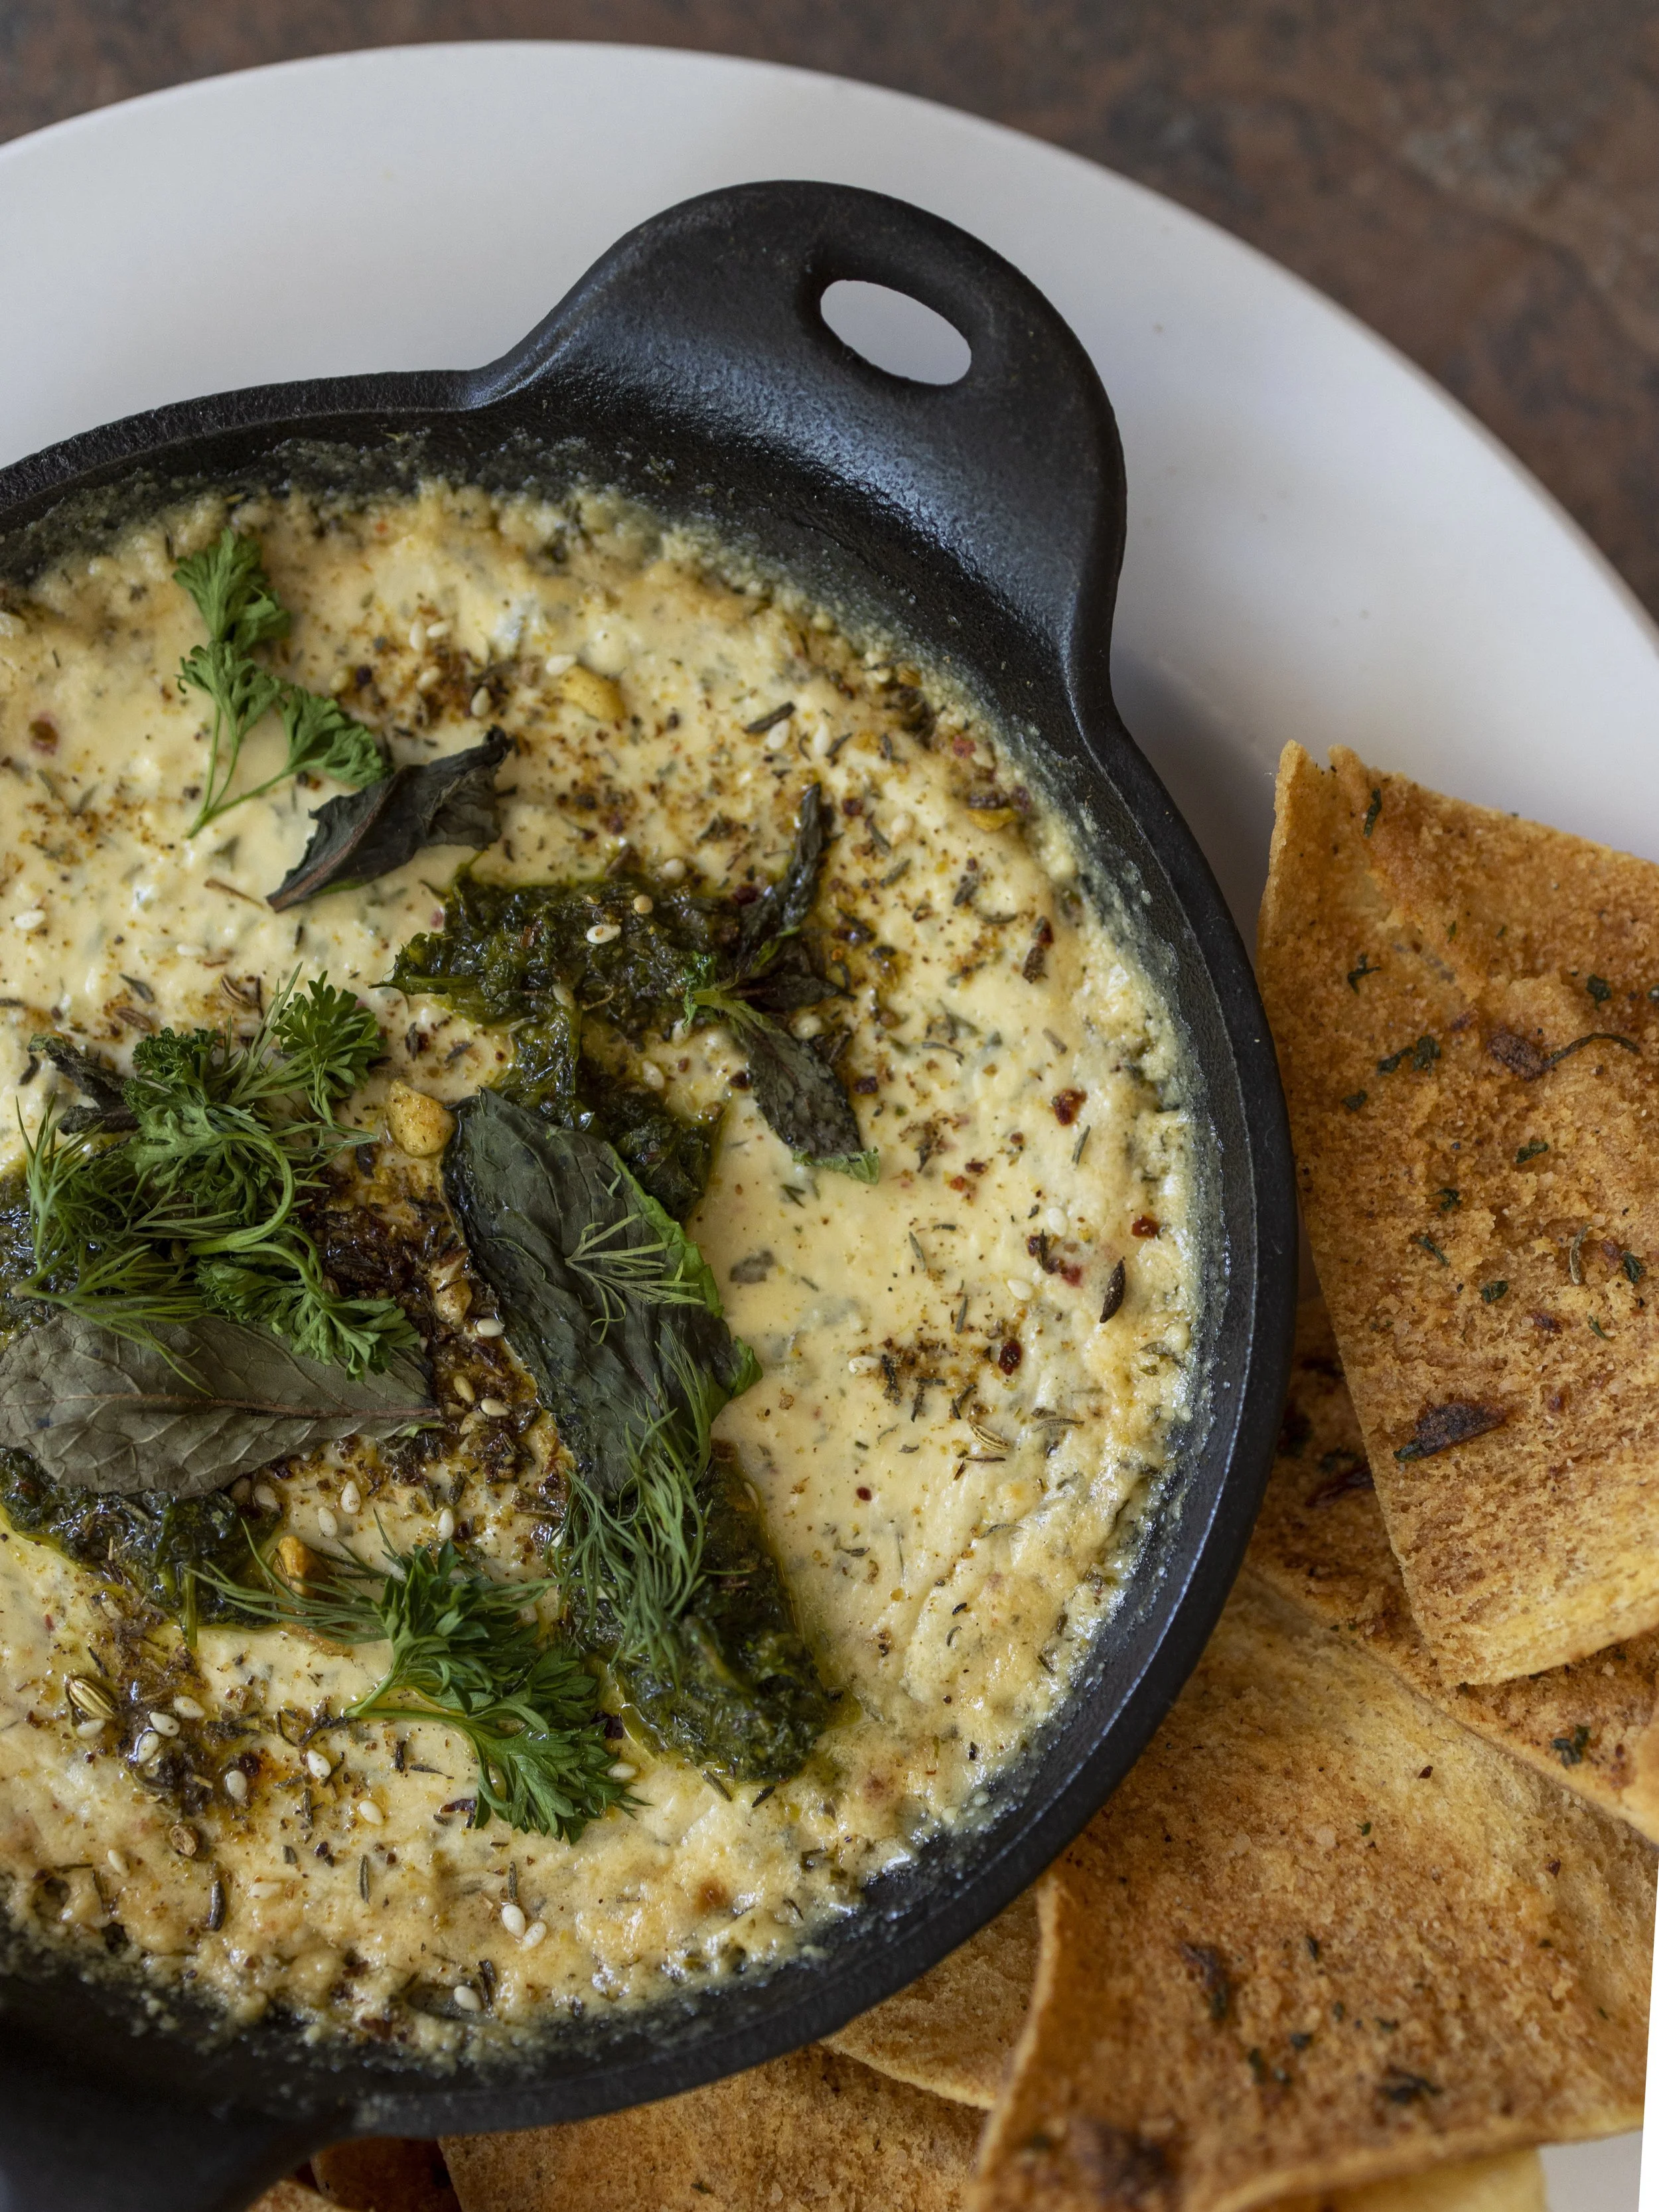
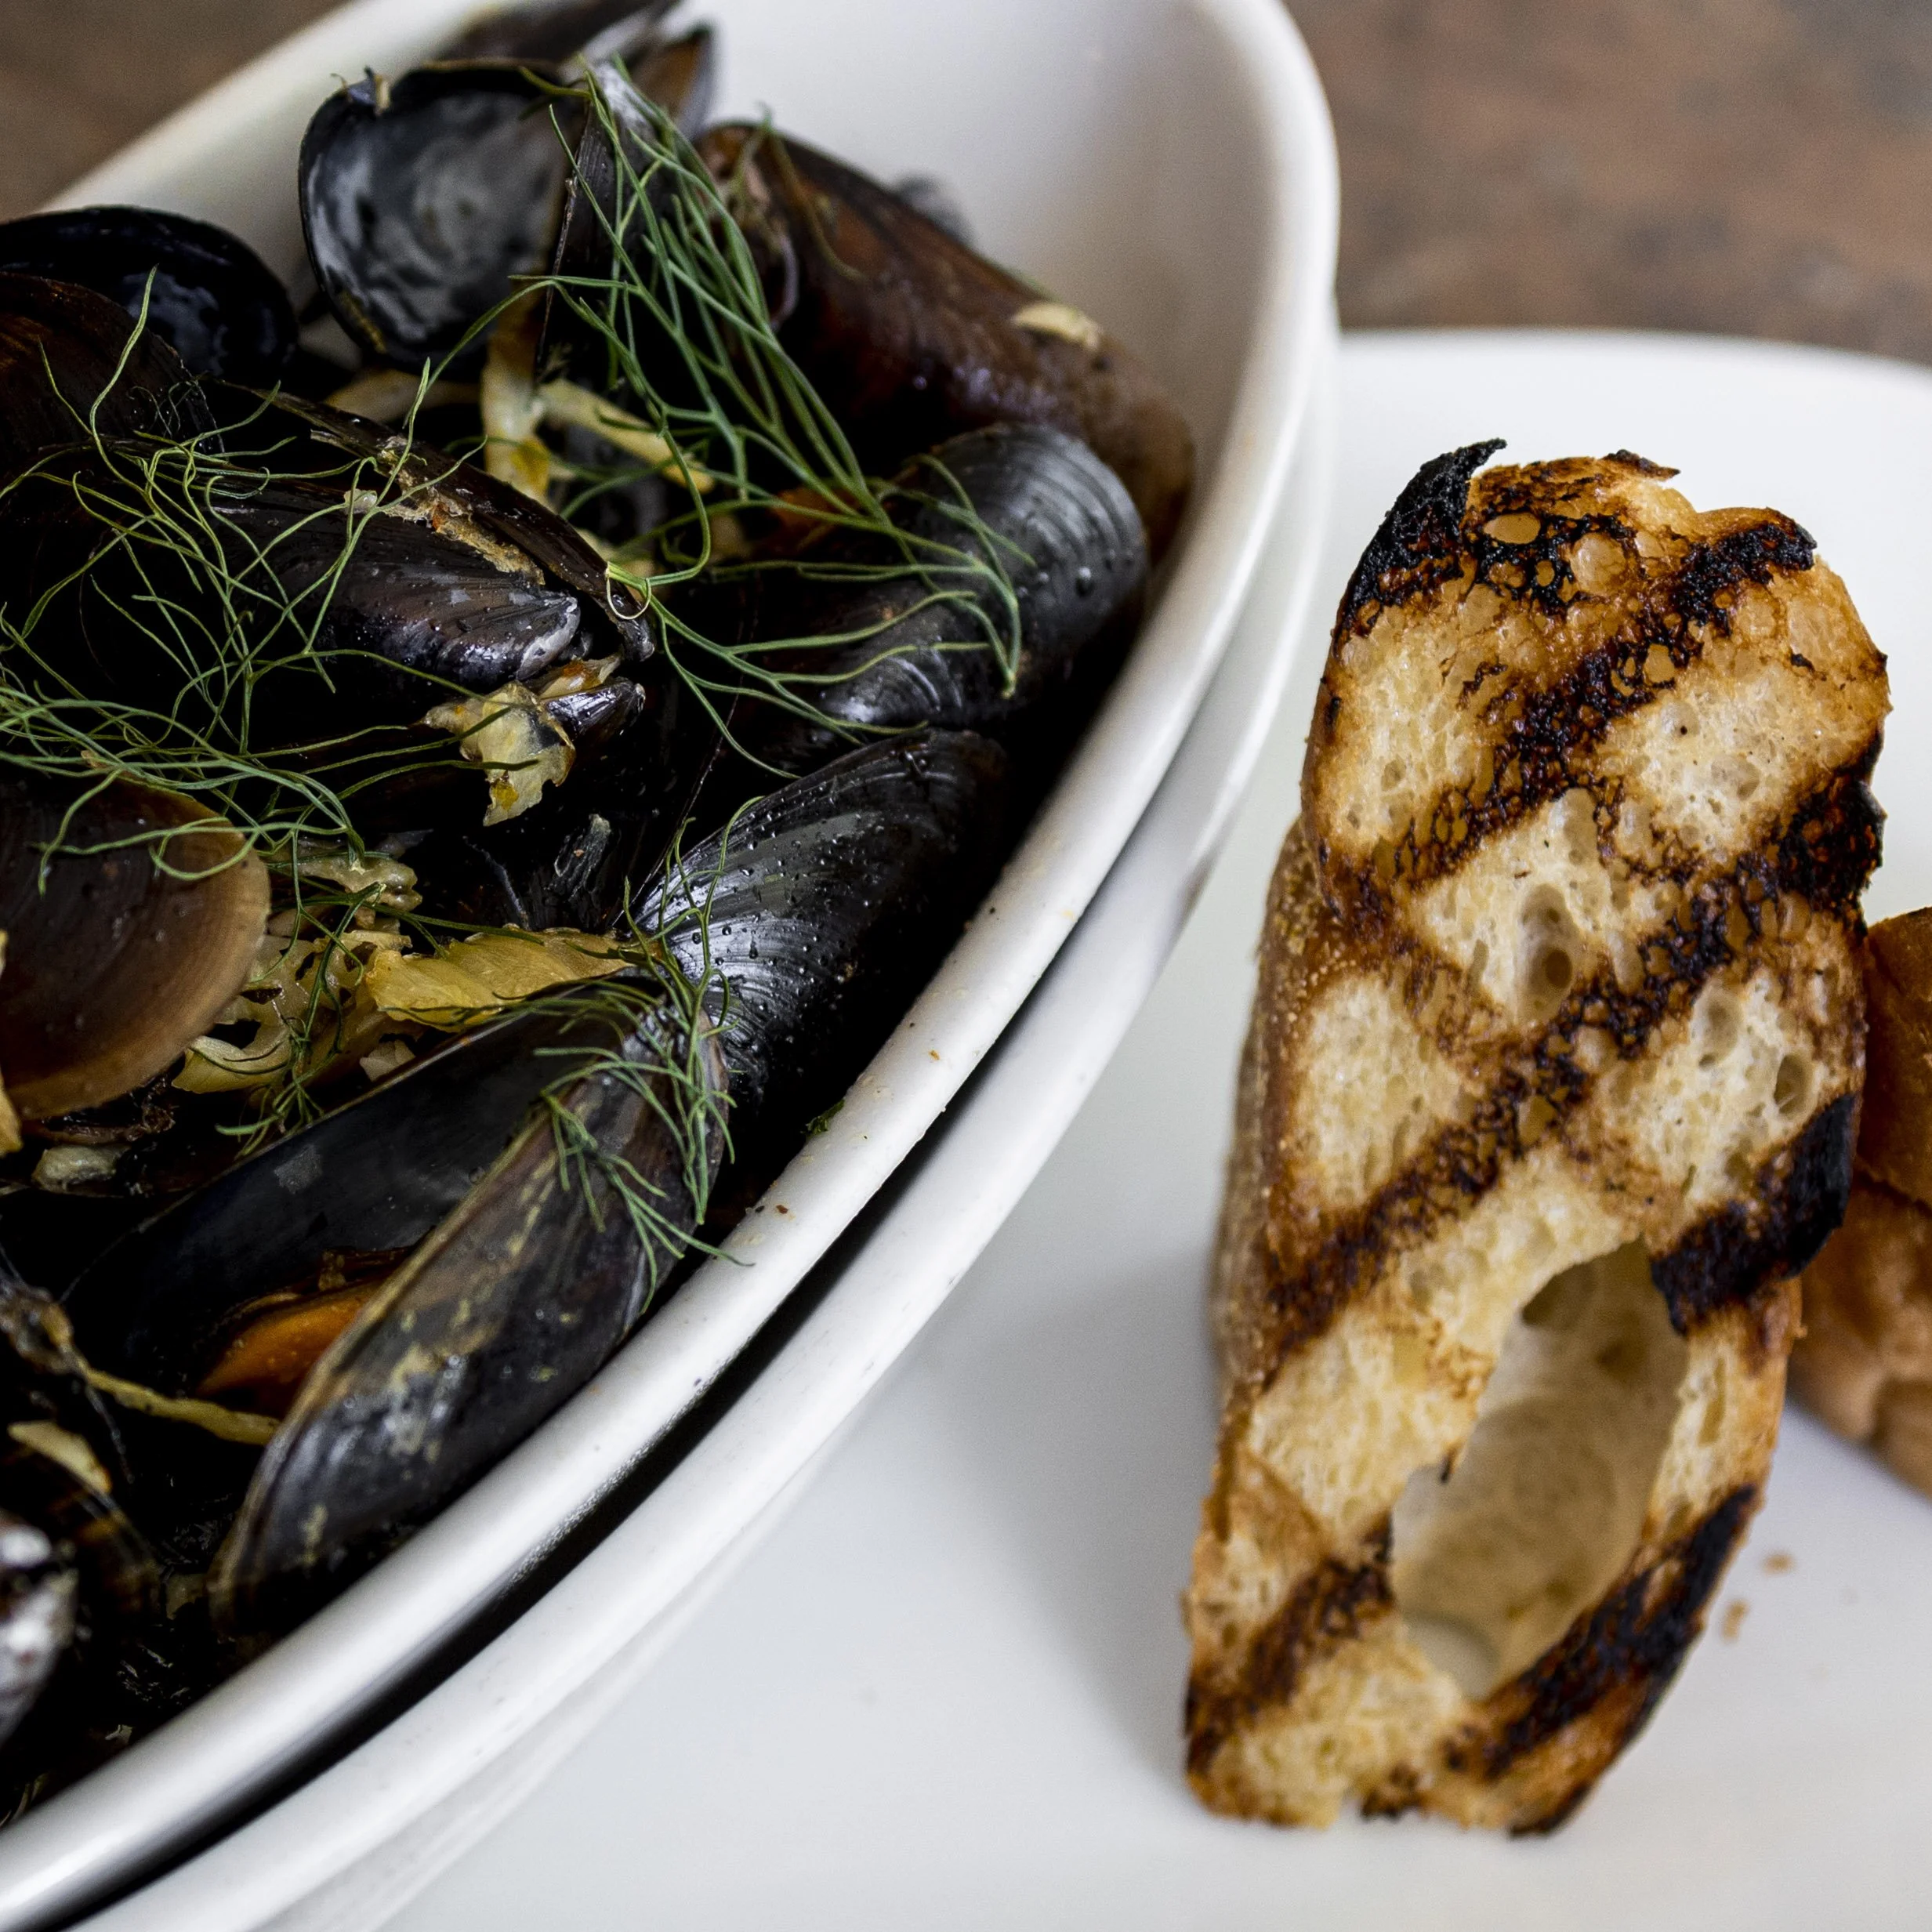
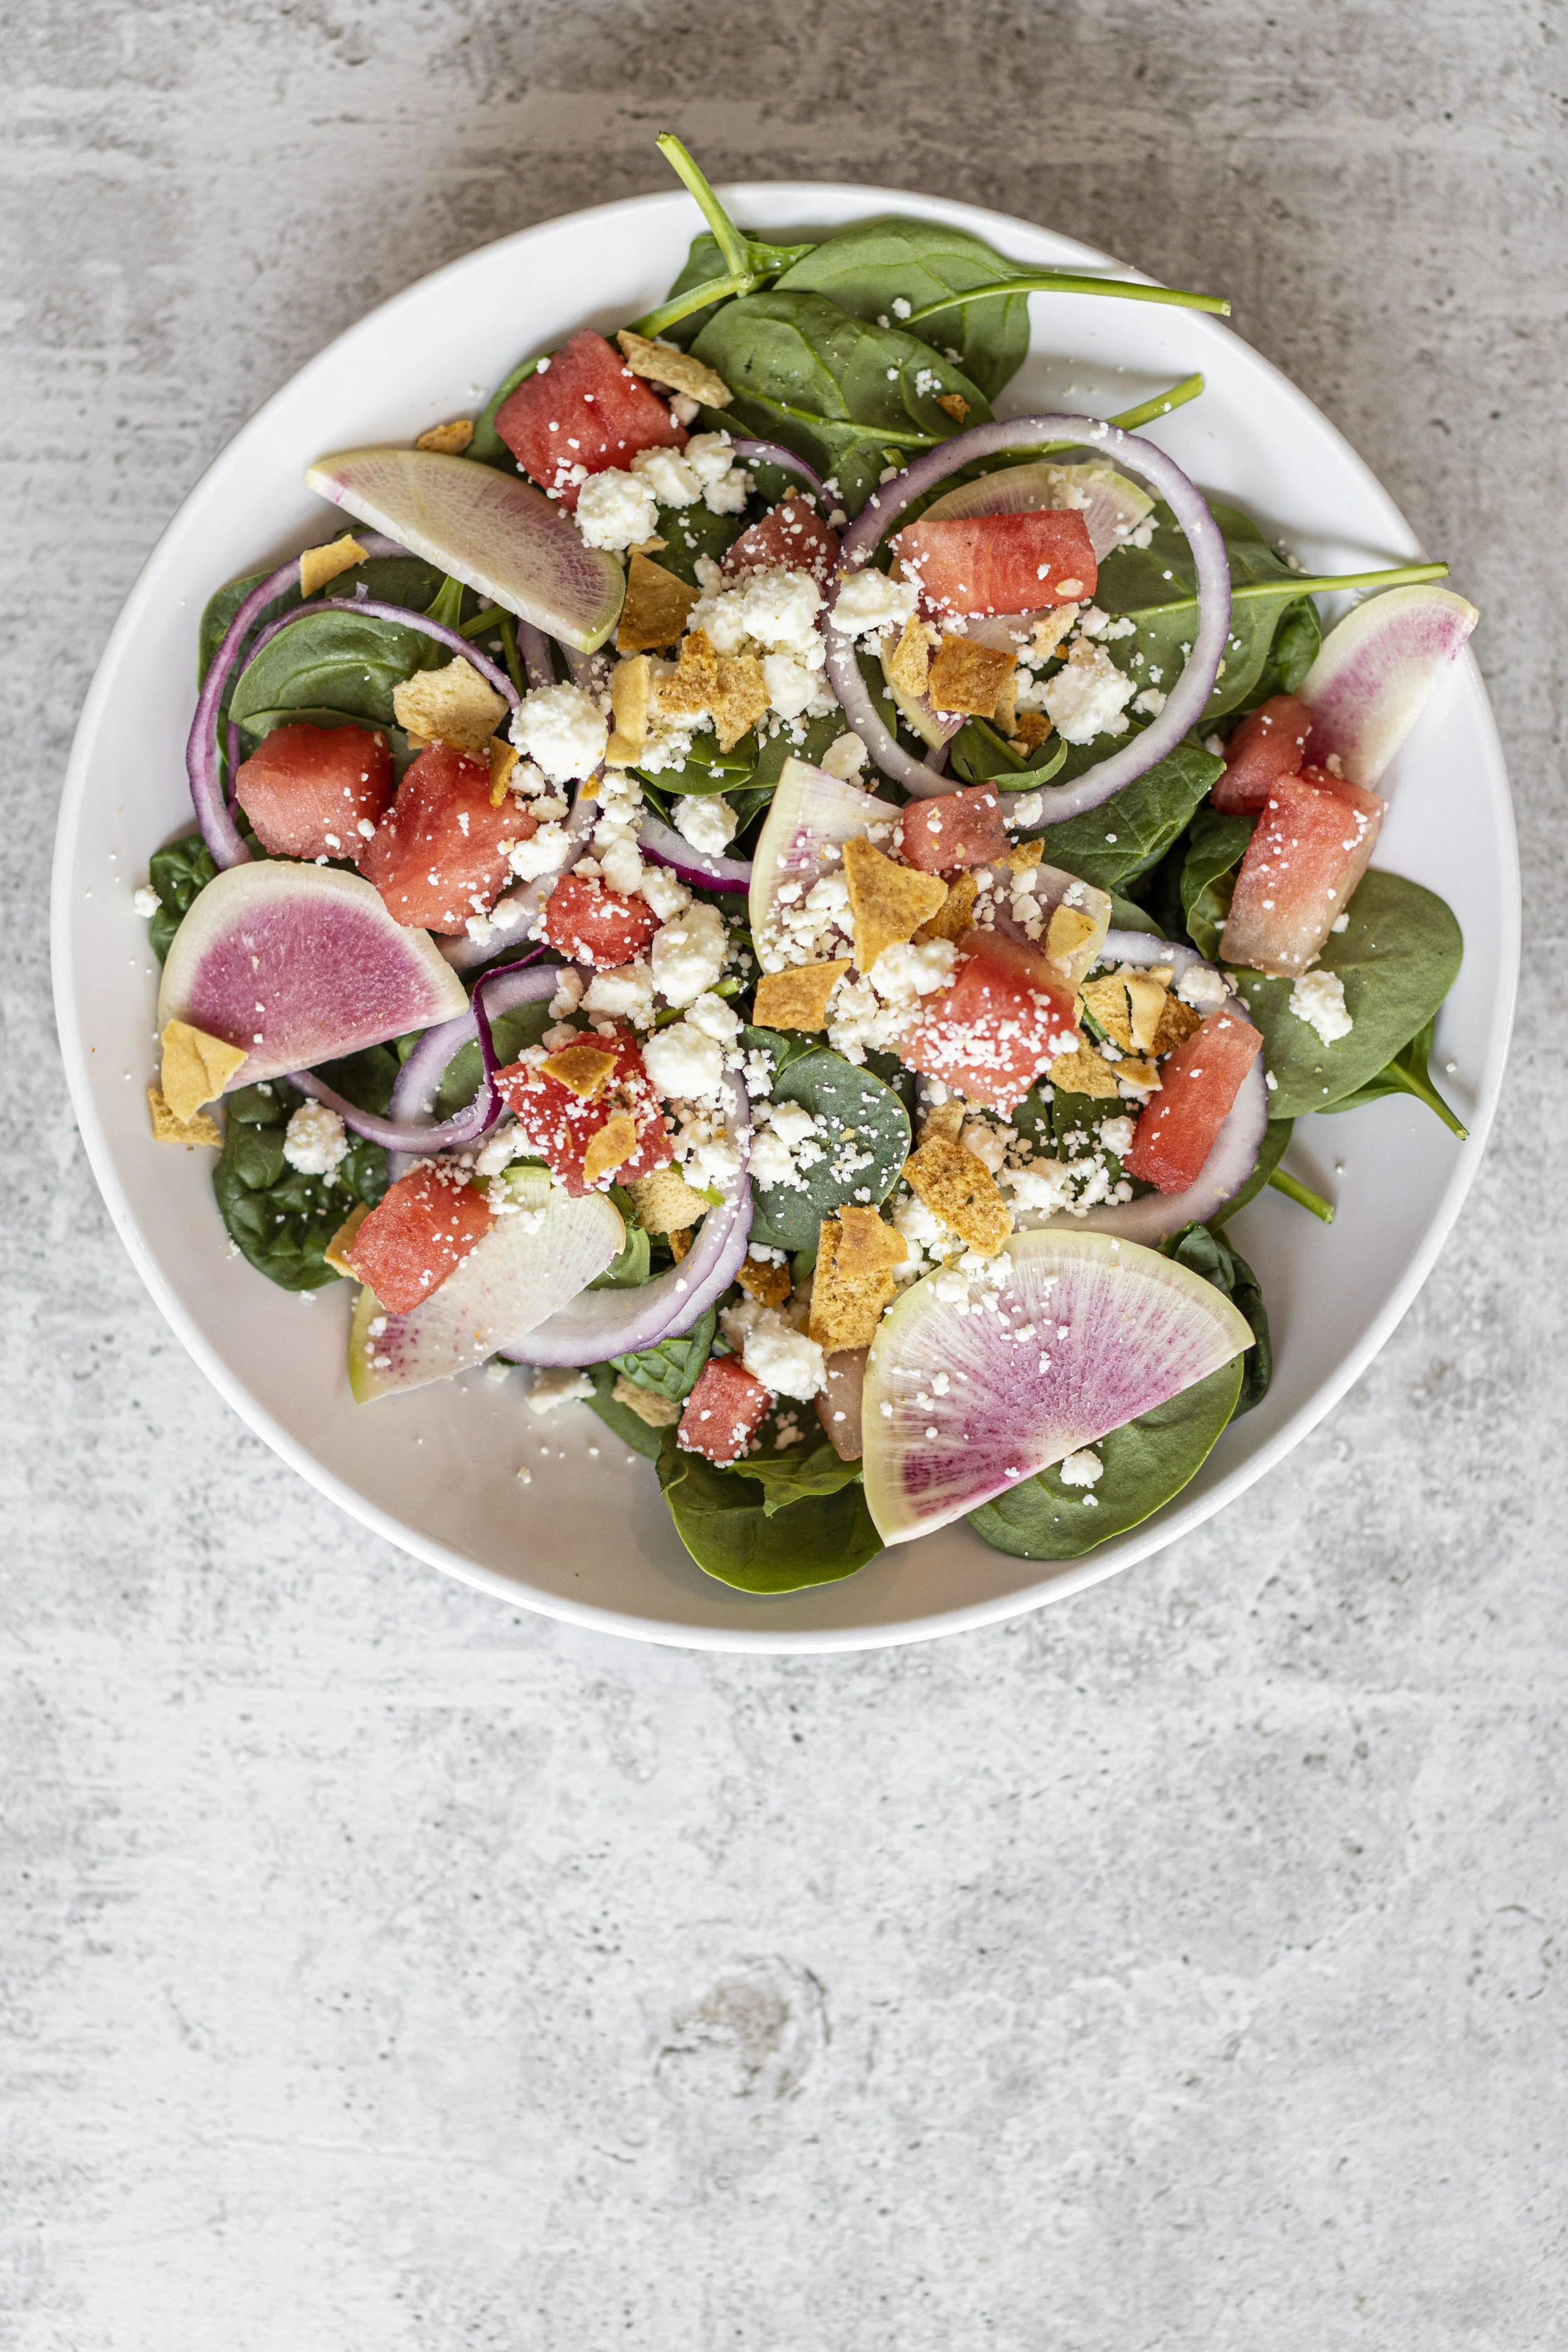
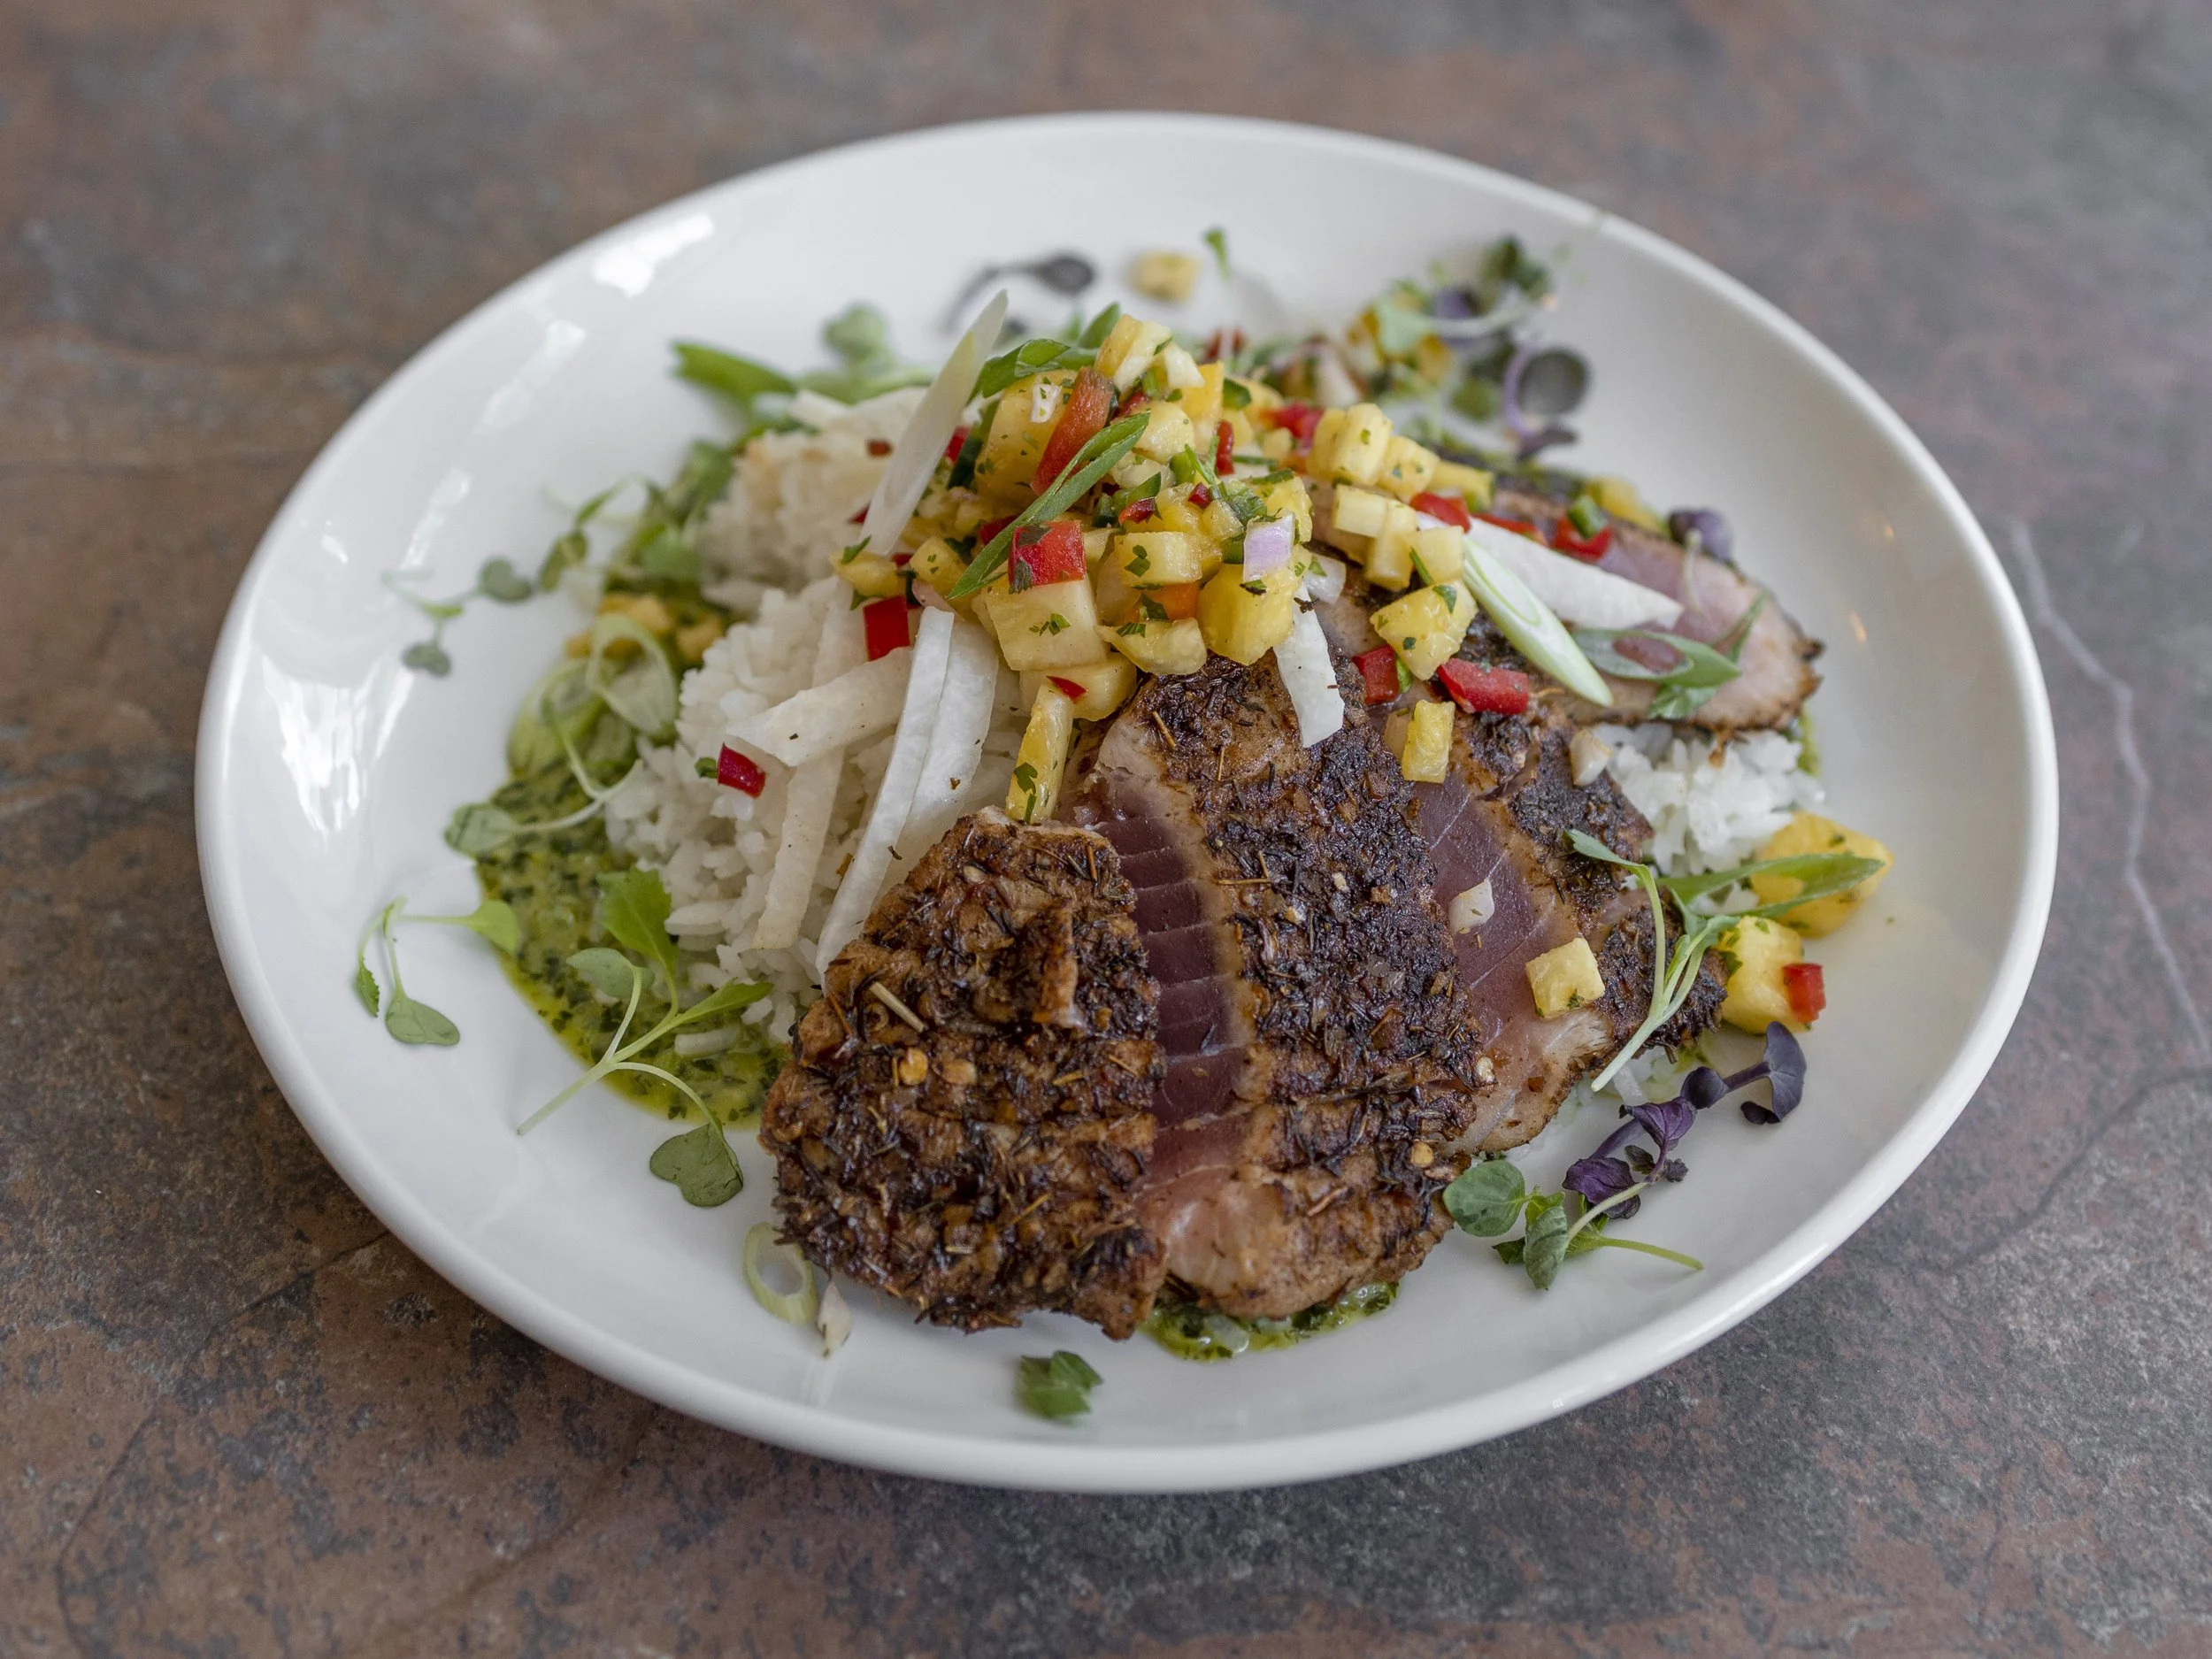
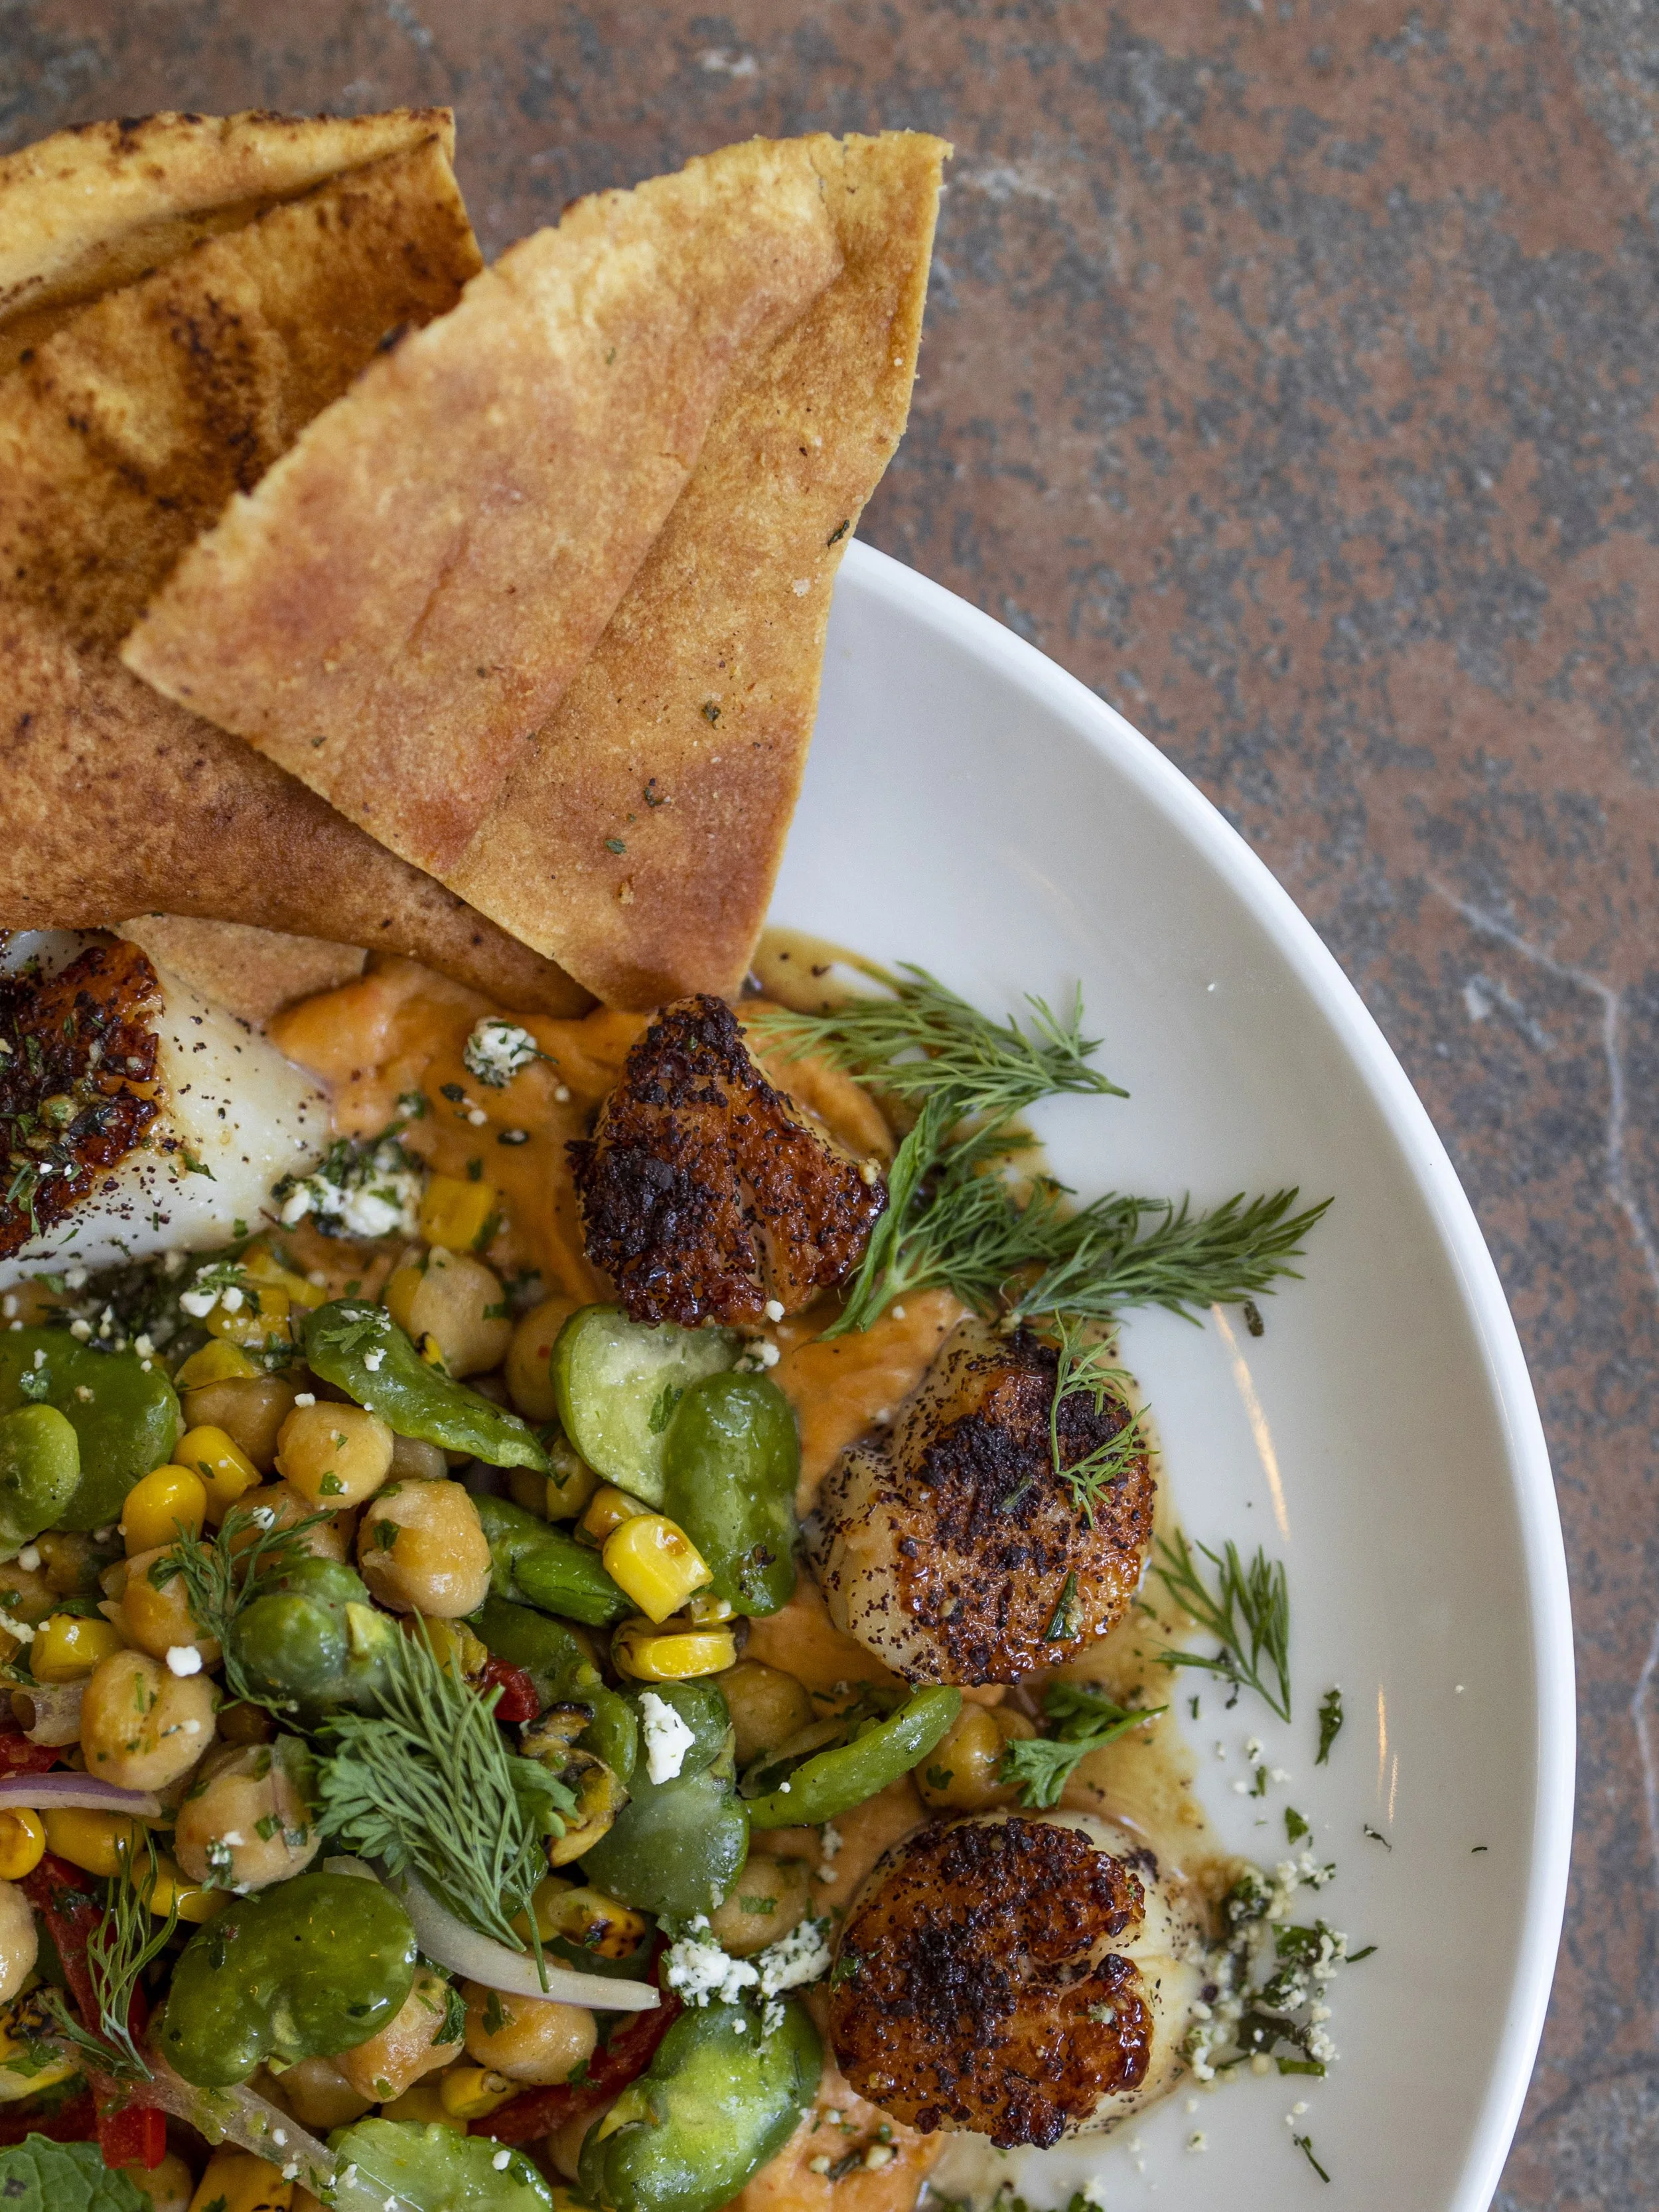
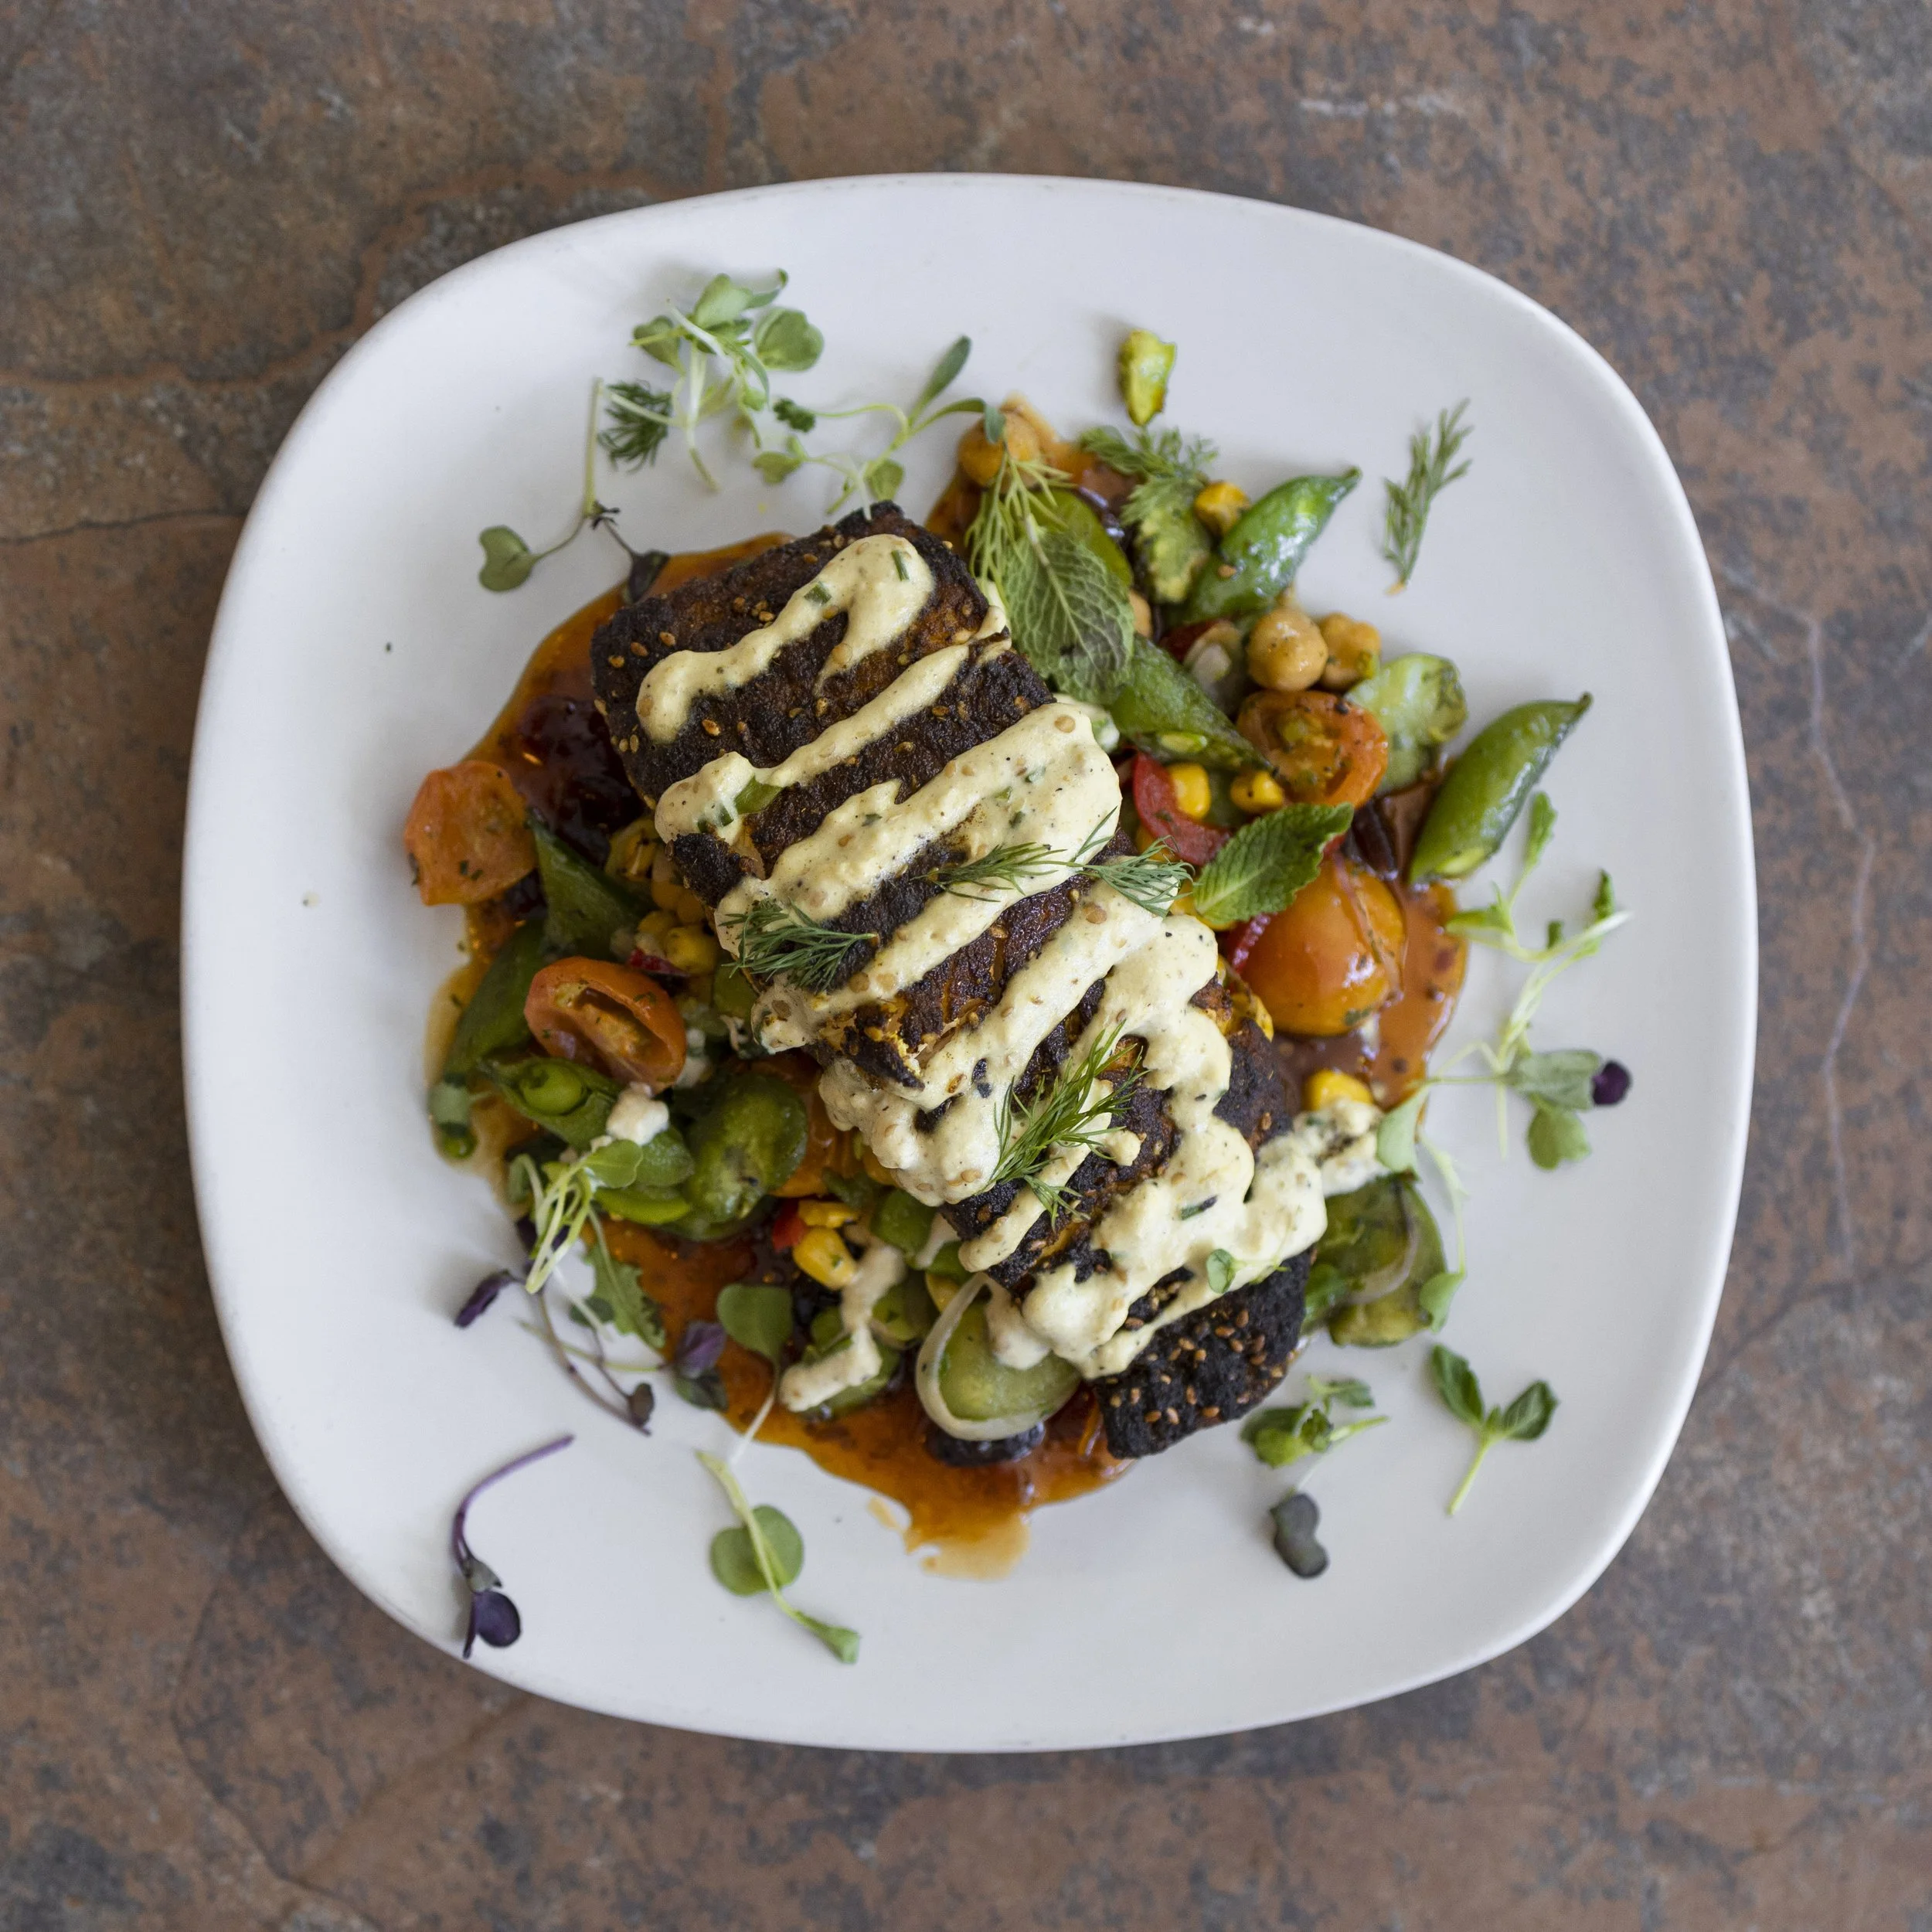
our menu gallery.
(photo credit: Jen Johnson)
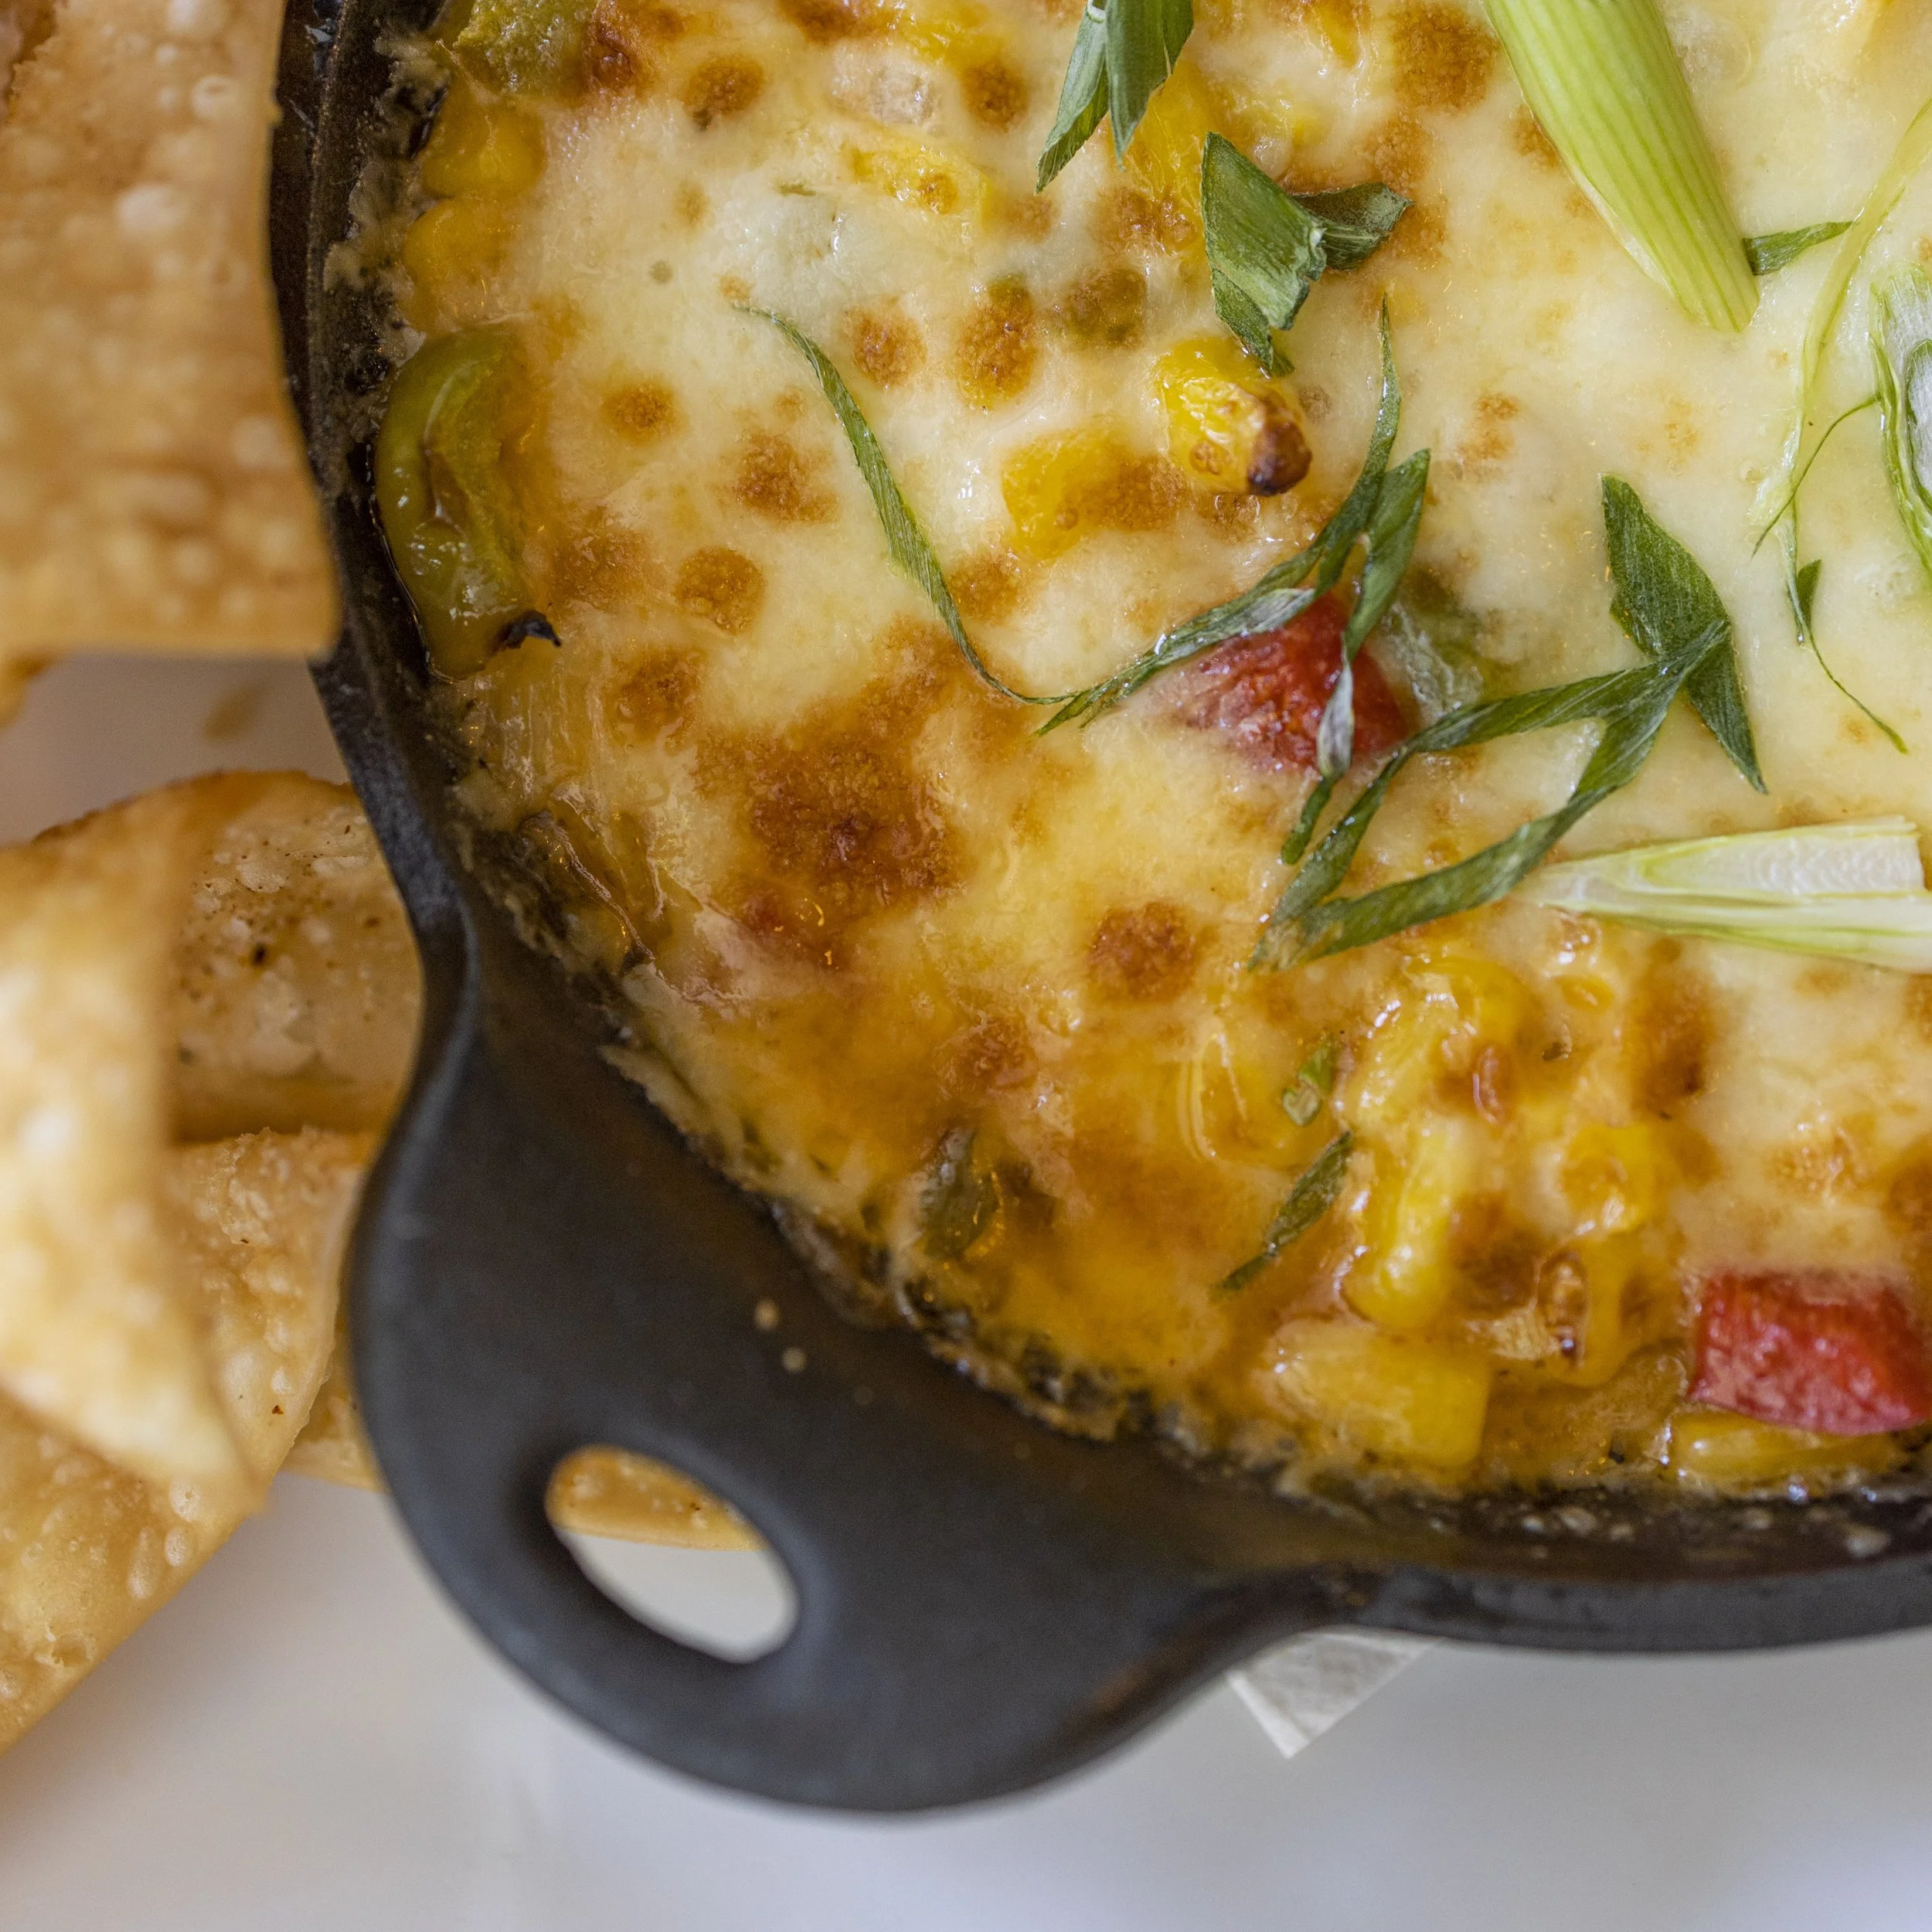
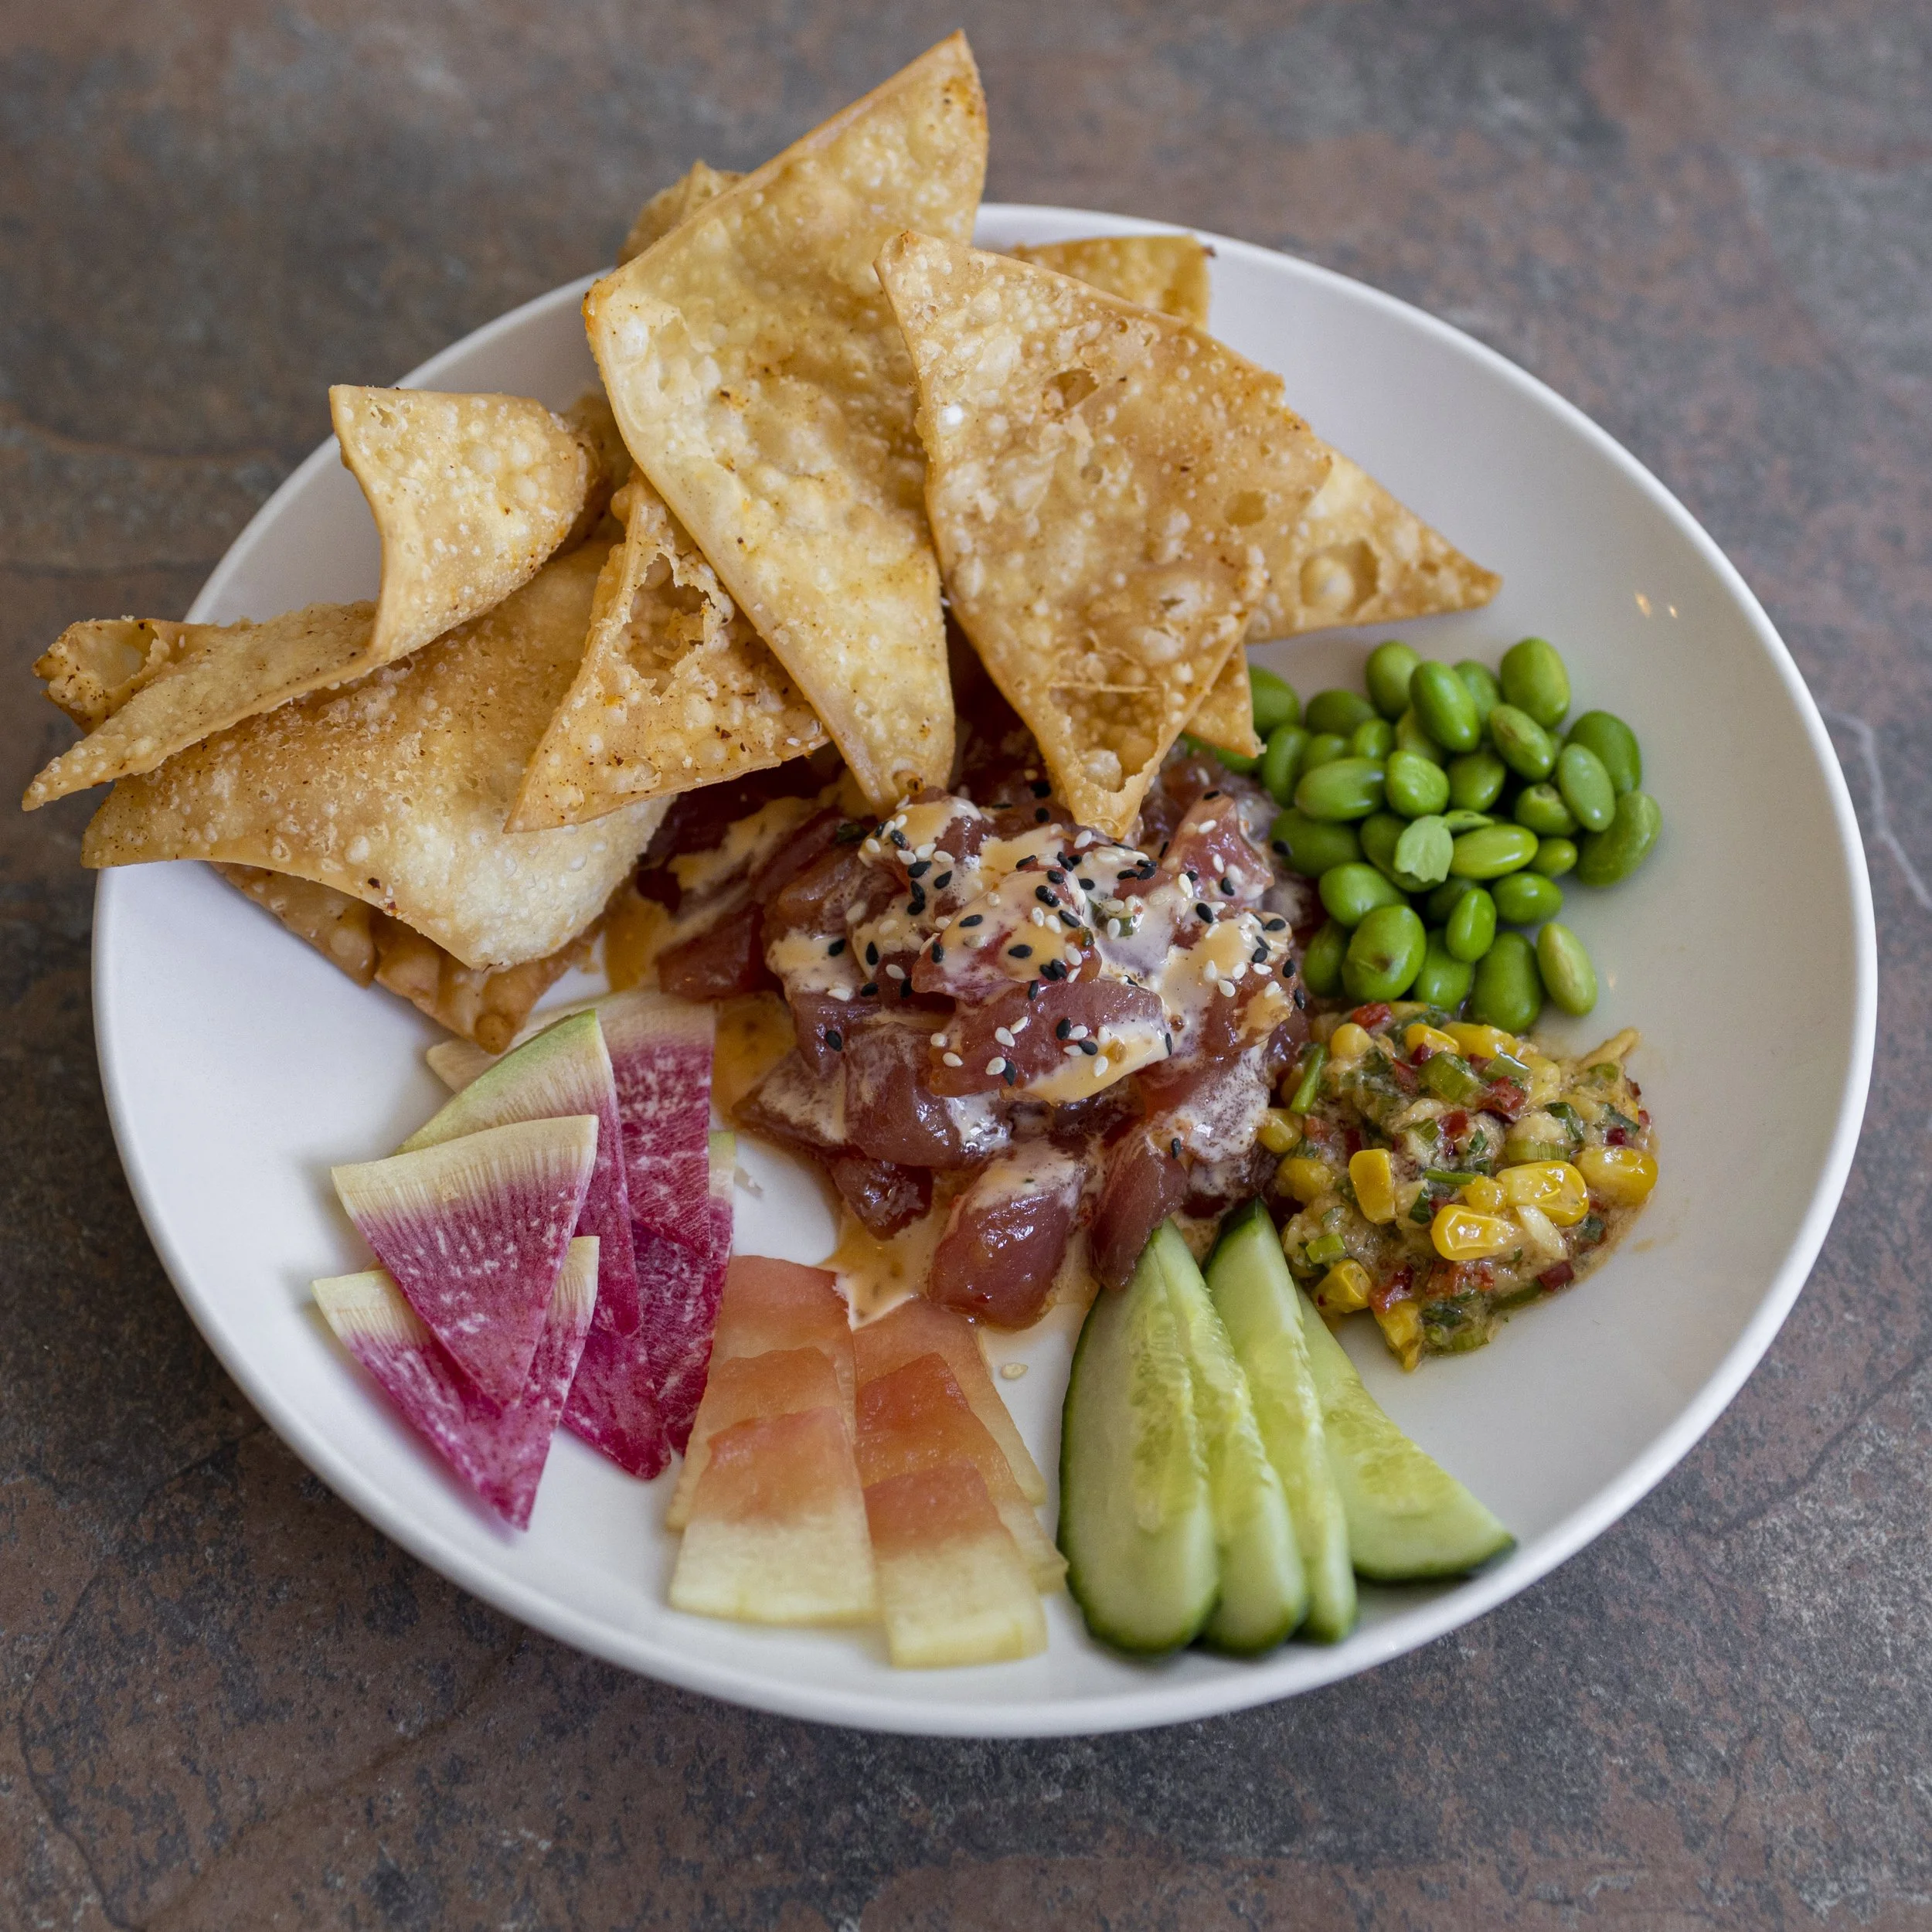
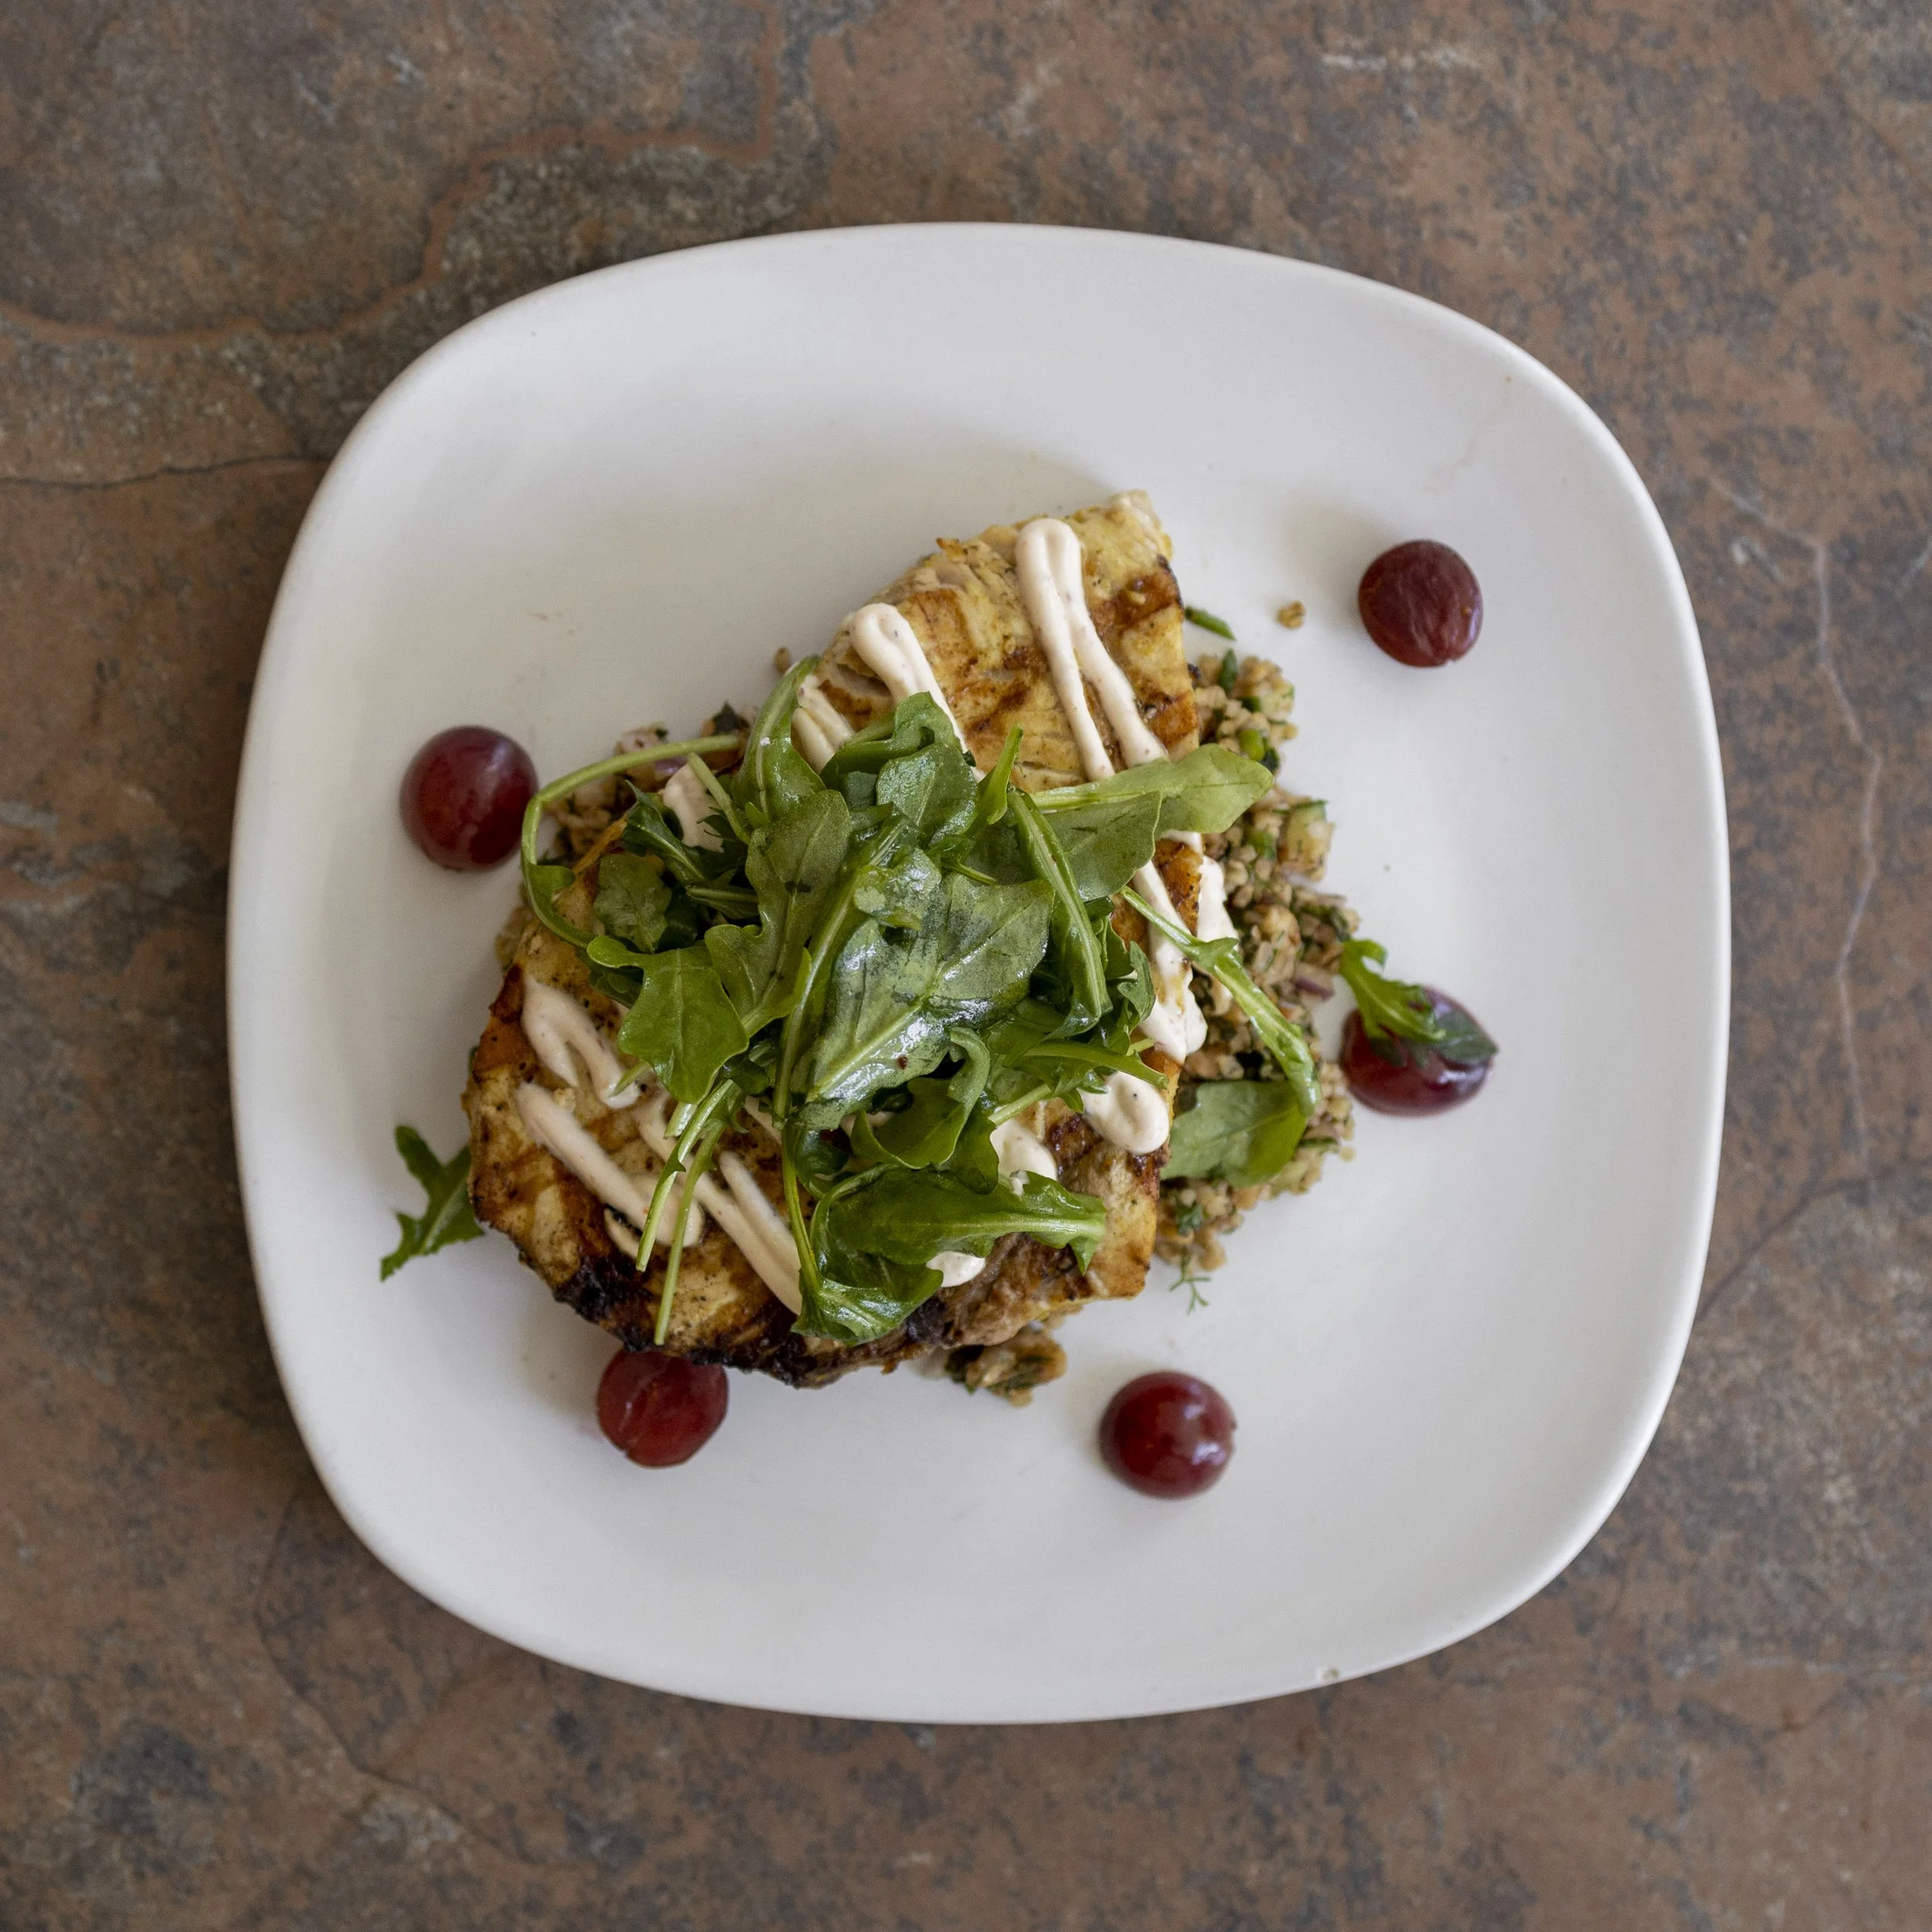
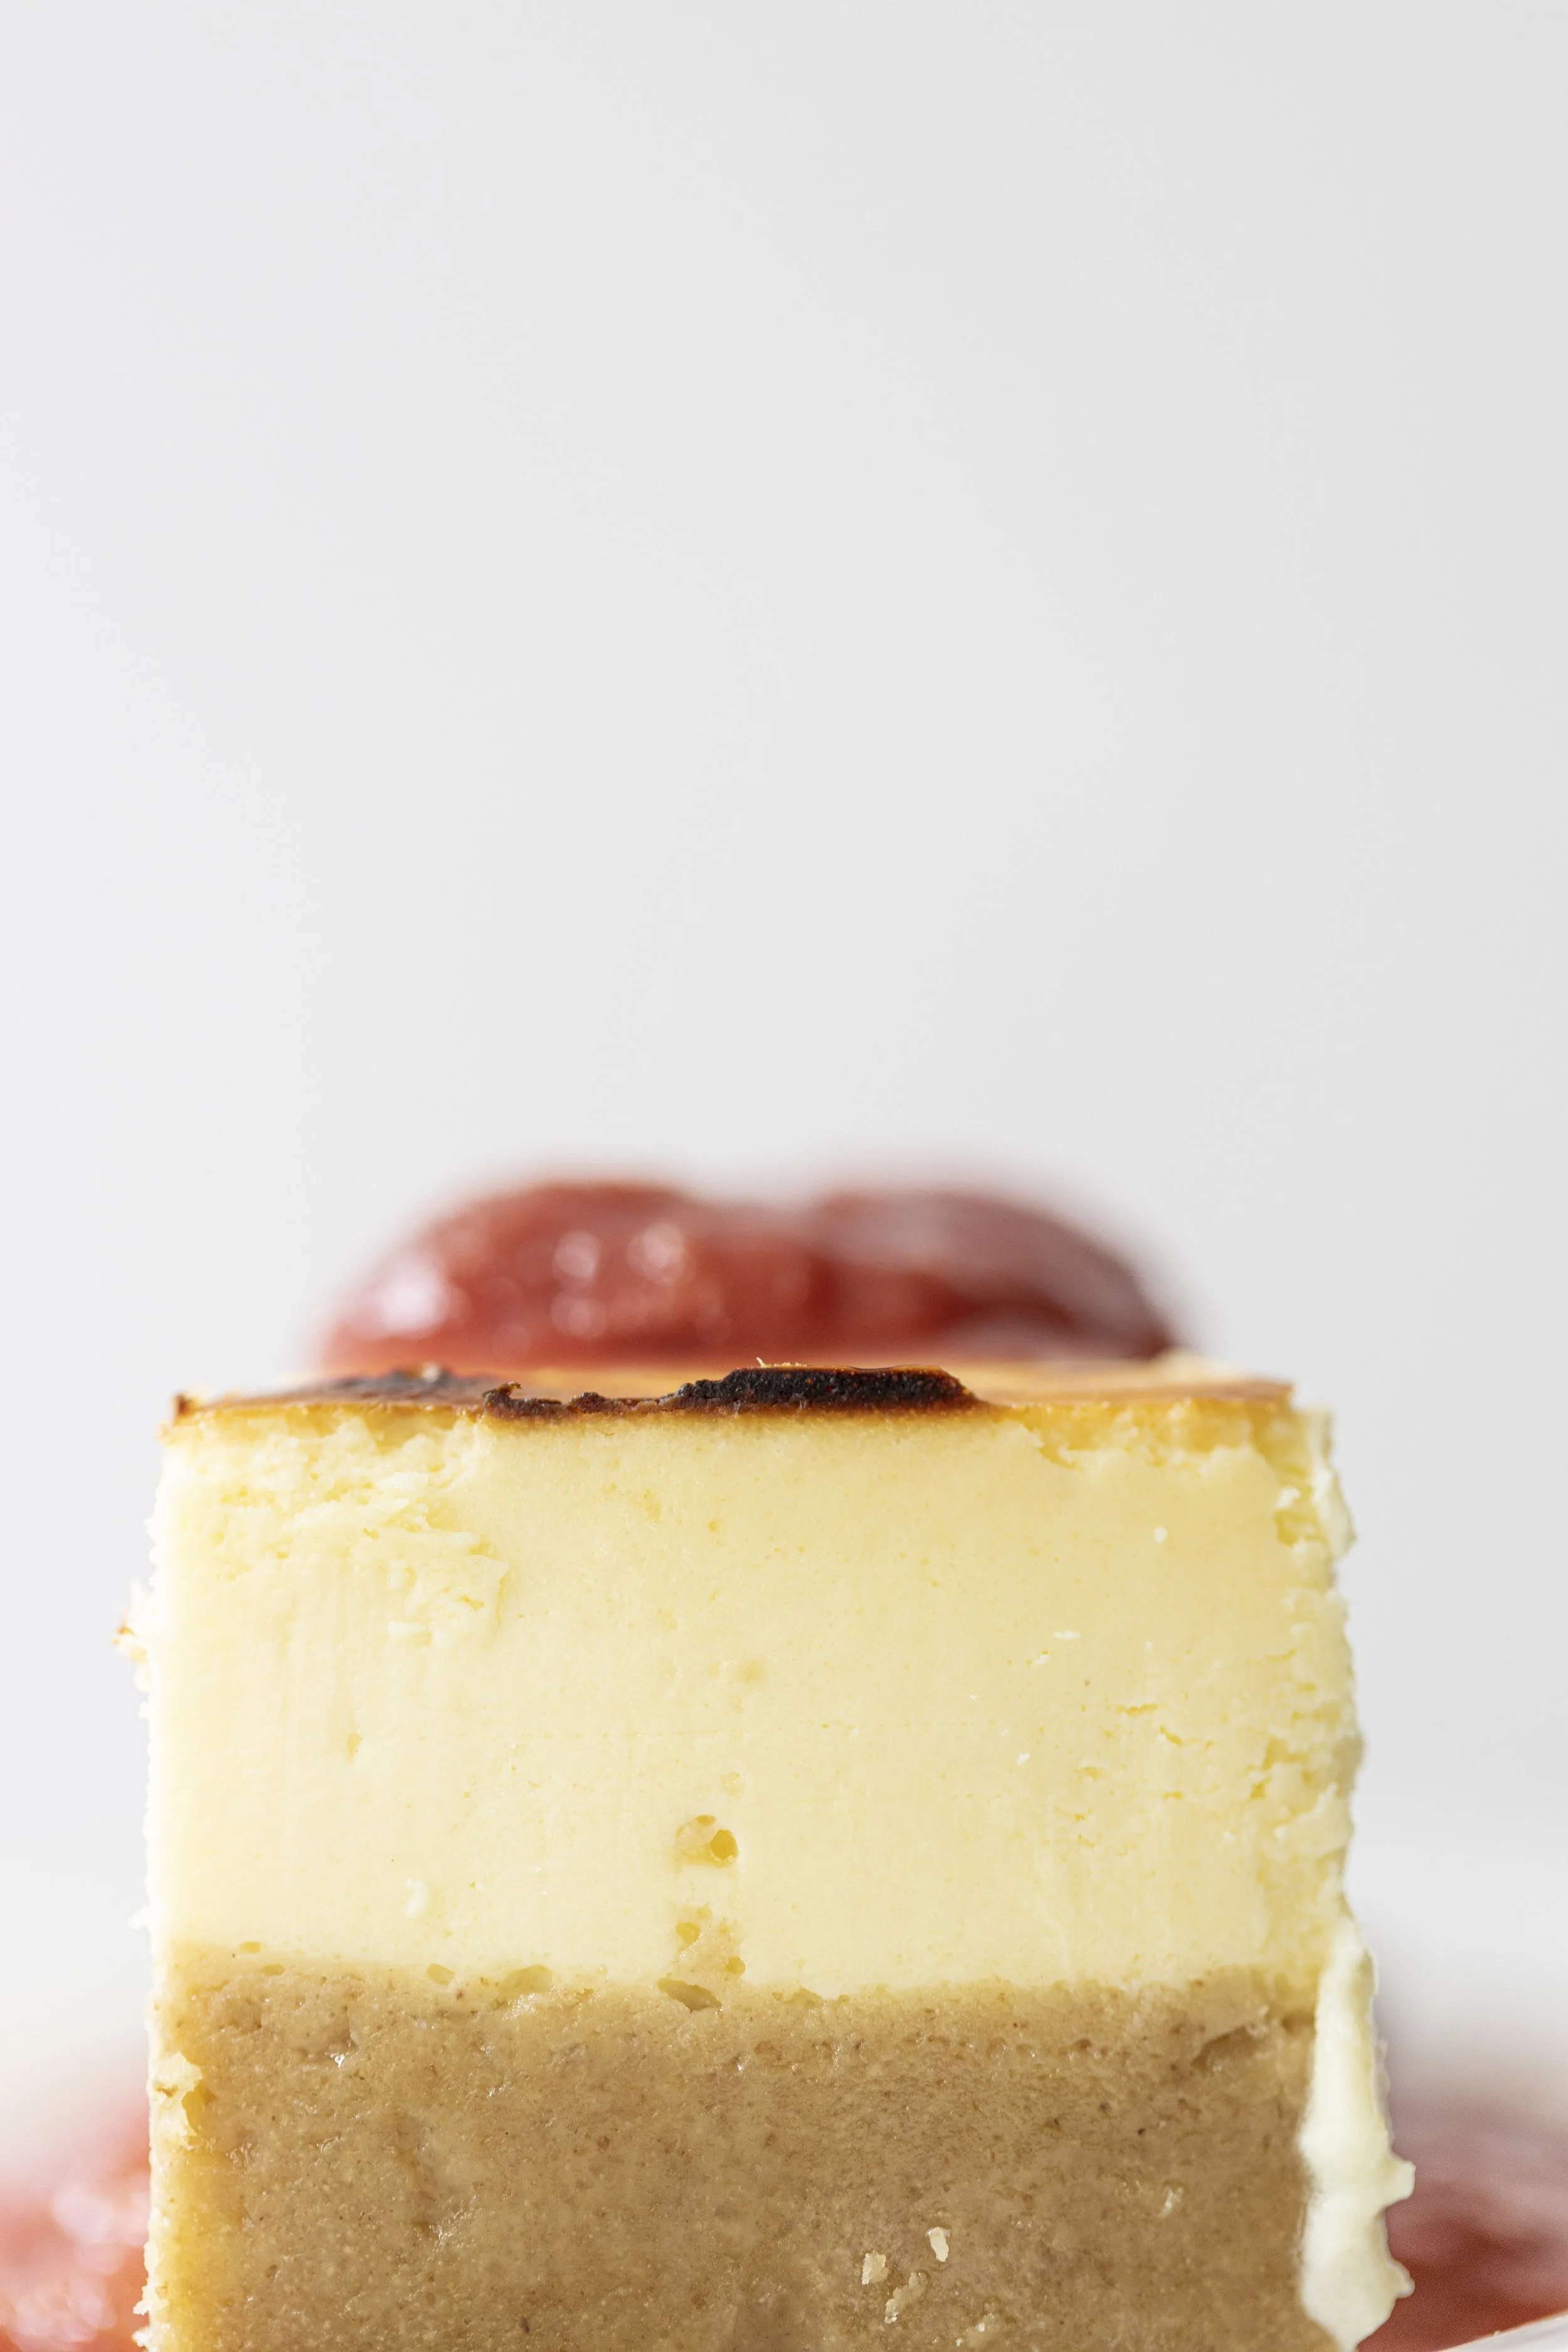
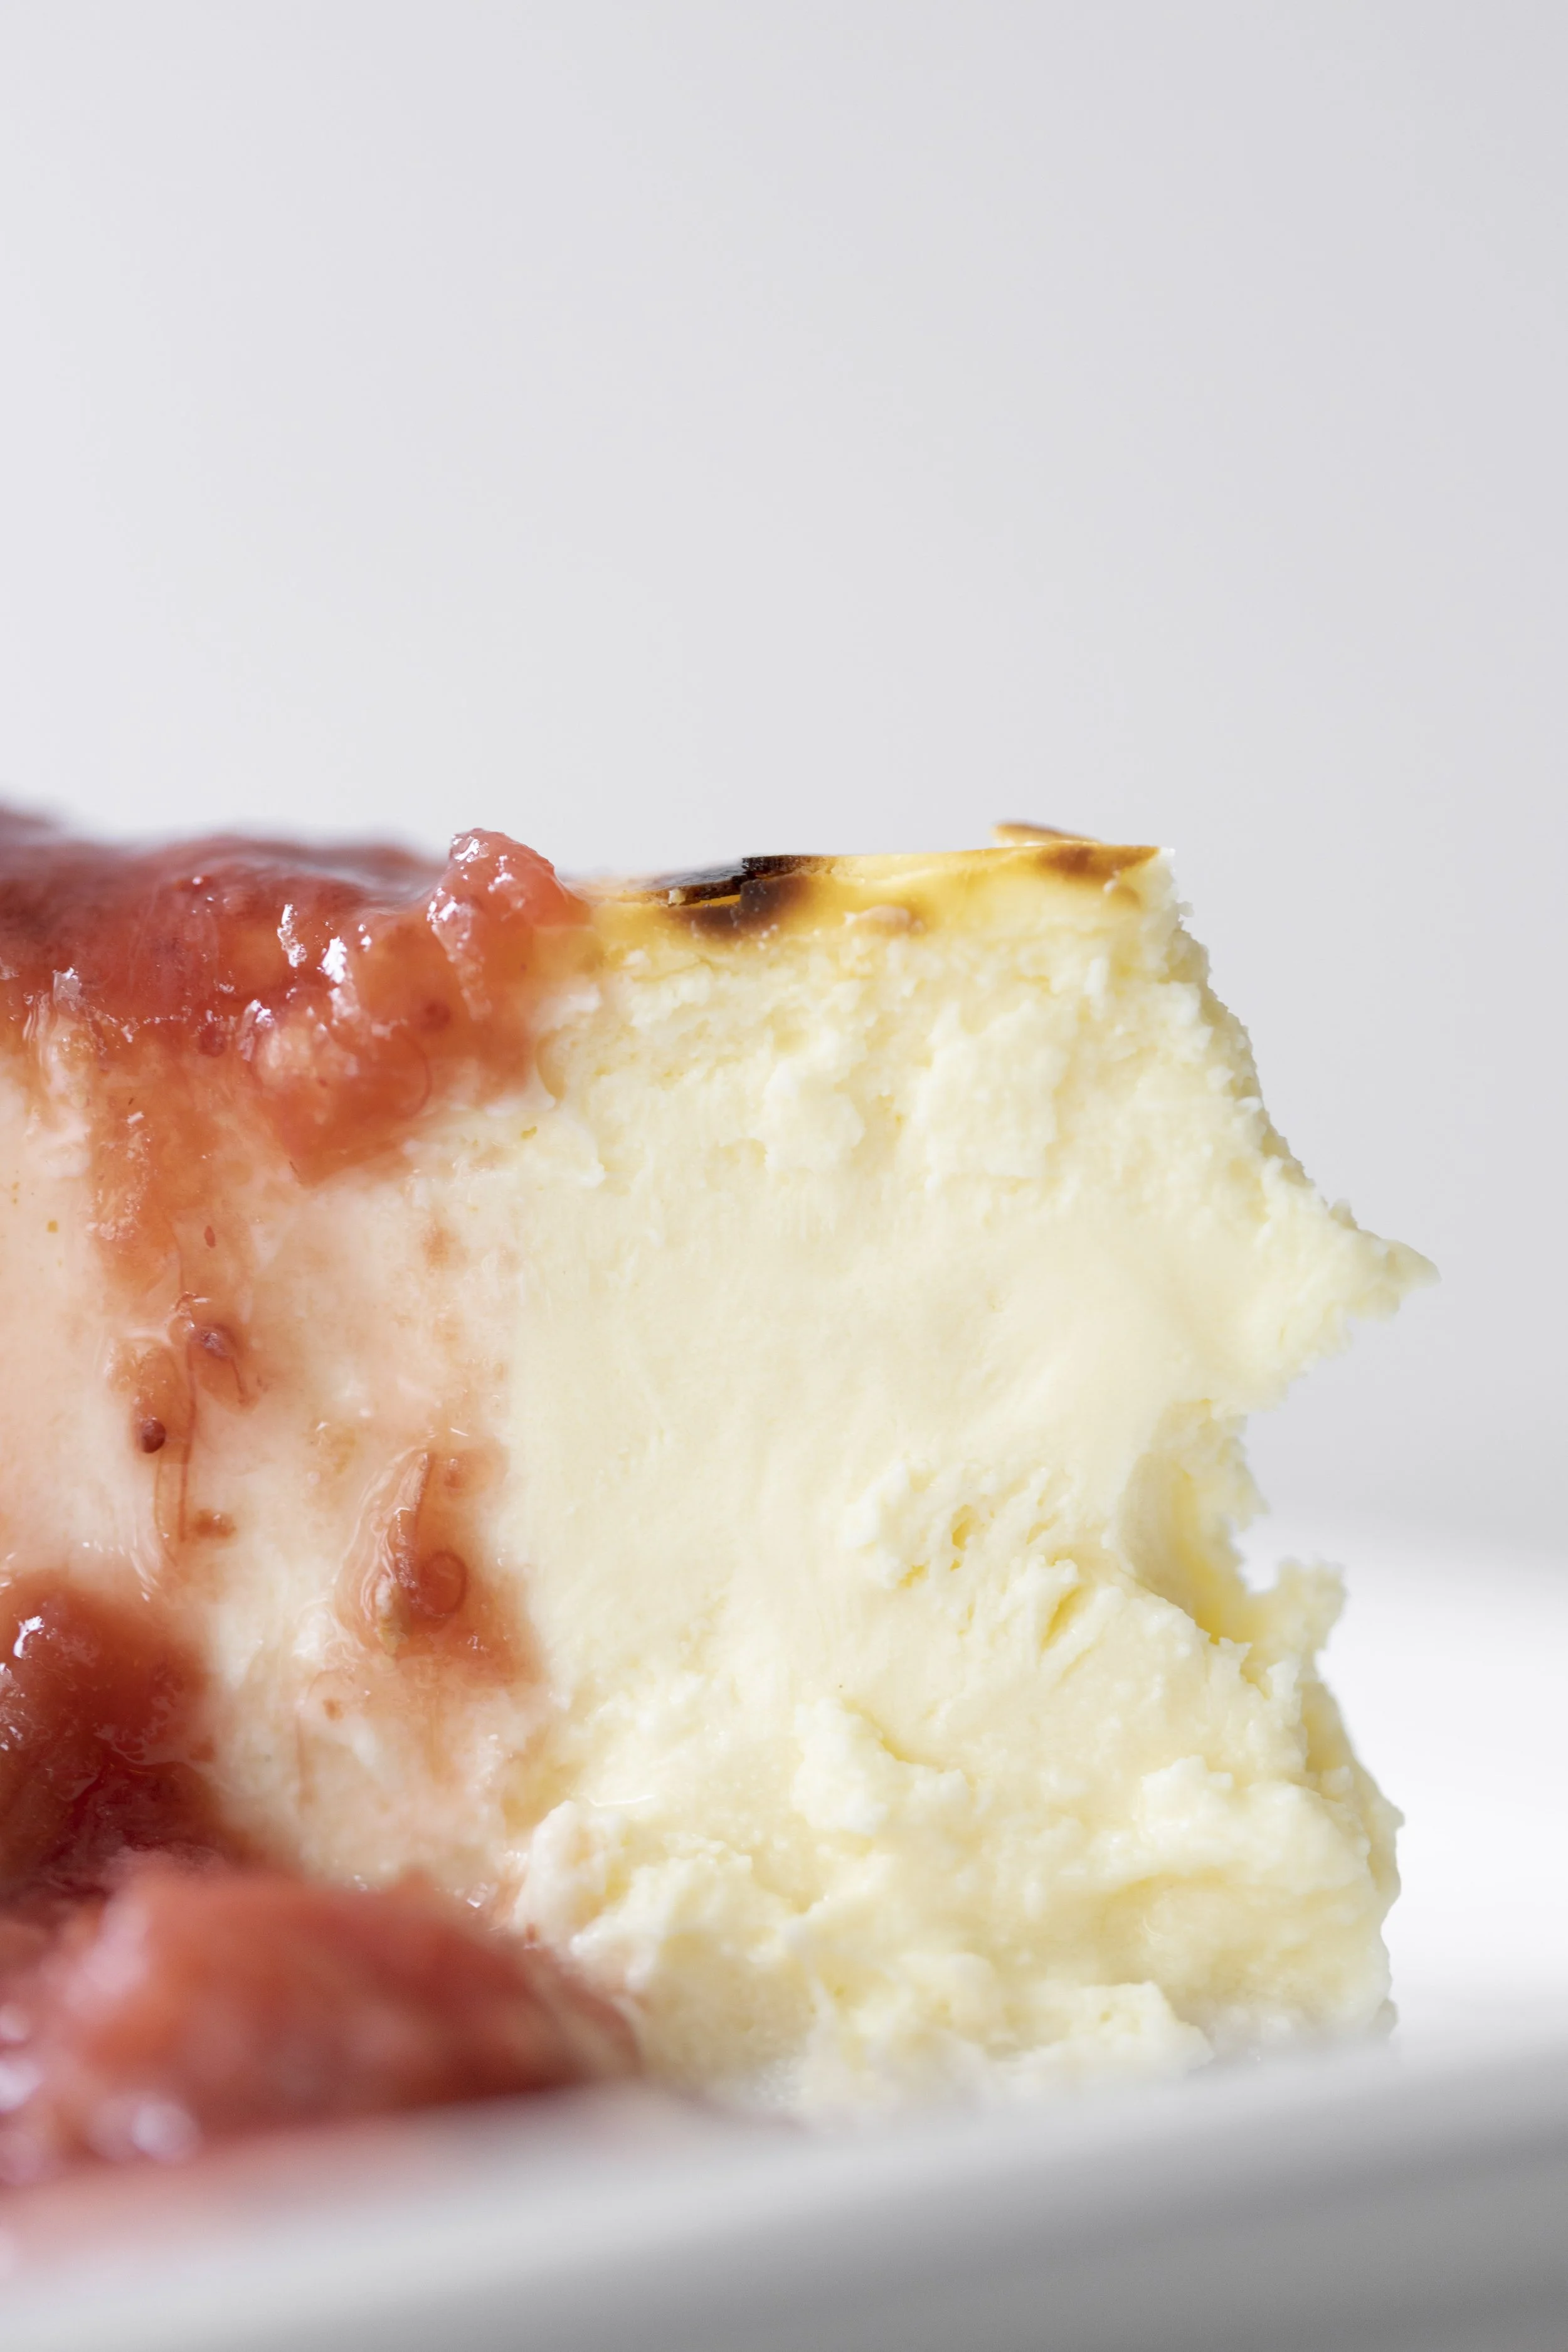
(photo credit: Jen Johnson)